




How to Teach Your Dog to Lie on Their Side for Nail Trims
By Dr Duncan Houston
Nail trimming can go from routine grooming to a full household wrestling tournament remarkably quickly.
Teaching your dog to lie on their side can make the paws easier to reach and reduce the need to bend, lift or restrain the limbs awkwardly. However, the position itself is not the goal. The goal is a dog who understands what will happen, remains physically comfortable and can ask for a pause before fear escalates.
Some dogs become very comfortable with side-lying nail care. Others prefer to stand, sit, offer one paw or use a scratchboard. There is no prize for forcing every dog into the same position.
Quick Answer
Teach side-lying gradually on a non-slip floor-level mat. Reward your dog first for lying down, then shifting onto one hip, lowering a shoulder and eventually resting comfortably on their side.
Once the position is relaxed and voluntary, introduce body touch, paw handling, the sight and sound of the clippers, and finally one very small nail trim. Stop whenever your dog gets up, withdraws the paw or shows increasing stress. If the nails are painful, severely overgrown or need urgent attention, veterinary medication or sedation may be safer than continuing to train through panic. (AAHA)
What Is Lateral Recumbency?
Lateral recumbency is the veterinary term for lying on one side.
The dog’s:
-
Shoulder rests against the surface
-
Hip and side of the body are supported
-
Legs extend or rest naturally
-
Head may remain raised or rest on the floor
A dog does not need to place their head flat on the ground for the position to count as lateral recumbency.
Some dogs naturally curl their legs towards the body. Others extend them. The position should not require the spine, neck, shoulder or hips to be twisted into an uncomfortable shape.
Why Use Side-Lying for Nail Trims?
Potential advantages include:
-
Easier access to several paws
-
Less need to hold the dog upright
-
A stable position on a non-slip surface
-
Clearer observation of body tension
-
An identifiable beginning and end to the procedure
-
The ability to work on one nail without lifting the entire limb
-
Less risk of the dog stepping off an elevated surface
It can also become a predictable routine:
Mat appears, dog lies on side, one paw is handled, a reward follows, and the session ends.
Predictability can improve handling for some dogs, particularly when reward-based training is combined with the ability to pause and re-engage. (AAHA)
Is Side-Lying a Consent Behaviour?
The term “consent position” is widely used in cooperative-care training, but it needs some qualification.
Dogs cannot provide legal informed consent for veterinary treatment. That responsibility remains with the owner or another authorised caregiver.
Dogs can still communicate:
-
Willingness to approach
-
Readiness to begin
-
Comfort with the current step
-
Uncertainty
-
Pain
-
A desire to stop
-
Willingness to return after a break
For this reason, side-lying is better understood as a cooperative start position or participation signal.
It becomes meaningful when:
-
The dog enters the position voluntarily.
-
The dog is physically free to leave.
-
The handler begins only after the position is offered.
-
Getting up, lifting the head or withdrawing the paw causes a pause.
-
Refusal is not punished.
-
The dog can choose to re-engage.
Reward-based training guidelines support giving animals opportunities to opt out and avoiding force, intimidation and aversive handling. (AVSAB)
Head down does not automatically mean “yes”
A dog may rest their head because they are:
-
Relaxed
-
Tired
-
Waiting for food
-
Uncertain
-
Frozen by fear
-
Physically prevented from moving
-
Experiencing pain or weakness
The whole dog must be considered.
A dog lying loose-bodied on the mat, taking food normally and repeatedly returning after breaks is giving much more useful information than a rigid dog whose head happens to be touching the floor.
The stop signal must actually stop something
Consider this sequence:
-
The dog lies on their side.
-
You hold the paw.
-
The dog lifts their head and pulls away.
-
You tighten your grip and continue cutting.
In that situation, the side-lying behaviour was not providing meaningful control. The dog learned that subtle withdrawal did not work.
The next attempt may involve:
-
Pulling harder
-
Scrambling upright
-
Growling
-
Snapping
-
Refusing to approach the mat
Quiet signals remain useful only when they produce a response.
What if the clippers are already on the nail?
There may be a brief commitment point during an actual cut.
If the dog suddenly moves while the clipper blades are positioned around the nail, the safest response may be to release or complete that tiny movement without twisting the nail, then stop immediately.
The dog should receive frequent opportunities to pause before each nail so that movement is less likely during the cut itself.
Does Every Dog Need to Lie on Their Side?
No.
Side-lying is one option, not a compulsory nail-trimming posture.
| Position or method | May suit | Important limitation |
|---|---|---|
| Lying on the side | Dogs comfortable resting laterally and having several paws accessed | May feel difficult or uncomfortable for dogs with joint, spinal or respiratory disease |
| Standing | Large dogs, senior dogs and dogs comfortable with brief foot lifting | Requires balance and careful support |
| Sitting | Selected front-paw trims | May not provide easy access to every nail |
| Chin rest with paw offer | Dogs familiar with cooperative handling | Requires two separately trained behaviours |
| Scratchboard | Selected dogs who enjoy digging or scratching movements | Usually does not address every nail or dewclaw |
| Veterinary or grooming trim with medication | Dogs with significant fear, pain or urgent overgrowth | Requires professional planning and may involve sedation |
A dog should not be forced into lateral recumbency because the owner has decided this is the only “cooperative” position.
When Might Side-Lying Be Uncomfortable?
Lateral recumbency may be difficult for a dog with:
-
Hip or elbow pain
-
Shoulder pain
-
Spinal disease
-
A recent abdominal or thoracic operation
-
A painful skin lesion
-
Significant obesity
-
Severe respiratory disease
-
A swollen abdomen
-
Neurological weakness
-
A limb injury
-
A wound or pressure-sensitive mass on one side
A dog may also prefer one side because the other is painful.
Sudden refusal to lie on a previously comfortable side should be treated as possible medical information rather than stubbornness.
Why Are Nail Trims So Stressful for Some Dogs?
A nail trim combines several potentially difficult experiences:
-
The paw is lifted
-
Individual toes are separated
-
The limb may be held away from the body
-
Metal or powered equipment approaches
-
Clippers create pressure and a sudden sound
-
Grinders create noise, vibration and heat
-
The dog may be placed on a slippery or elevated surface
-
Previous trimming may have cut the quick
-
Restraint may prevent escape
-
The dog may anticipate pain before anything happens
In the 35-dog nail-trimming study, average heart rate increased from approximately 97 beats per minute at baseline to approximately 122 beats per minute during clipping. Nearly half the dogs struggled excessively or escalated towards aggression during at least one nail, and almost one-third had a known history of a painful nail trim. (Acquire)
This is why “just hold them still and get it done” can make the next trim harder.
Can a Dog Be Frightened While Remaining Still?
Yes.
Stillness may represent:
-
Relaxation
-
A trained duration behaviour
-
Uncertainty
-
Freezing
-
Behavioural inhibition
-
Exhaustion after struggling
Signs that stillness may reflect fear include:
-
Rigid muscles
-
Tightly closed mouth
-
Rapid breathing
-
Wide eyes
-
Dilated pupils
-
Ears held back
-
Repeated scanning
-
Trembling
-
Tucked tail
-
Sudden refusal of normally valued food
-
Immediate escape when restraint is released
A dog should not need to reach growling or biting before the session is stopped.
Does Taking Food Prove the Dog Is Comfortable?
No.
Food acceptance is useful information, but it is not a canine lie detector.
Some dogs continue eating while tense or frightened. Others refuse food because they:
-
Recently ate
-
Feel nauseous
-
Are overheated
-
Dislike the particular reward
-
Are distracted
-
Are experiencing pain
Look at food intake together with posture, breathing, movement and voluntary re-engagement.
Why Does Regular Nail Care Matter?
Nails should be checked regularly because excessive length can contribute to:
-
Snagging
-
Splitting
-
Partial or complete nail avulsion
-
Pressure against the paw pad
-
Difficulty maintaining traction
-
Pain when a damaged nail is touched
-
Infection around the nail bed
-
Problems involving unworn dewclaws
The quick contains sensitive tissue and blood vessels. Cutting into it causes pain and bleeding, which can create a strong negative association with future nail care. (Veterinary Hospital)
Claims that every moderately long nail automatically causes major whole-body gait abnormalities are too confident. A small 2026 study involving seven clinically healthy dogs found no significant immediate change in the main global gait measurements after nail trimming, although some paw-level variables changed. Nail care remains important, but individual gait problems should not automatically be blamed on nail length alone. (Frontiers)
How Do You Know When Nails Need Attention?
Look for:
-
Nails curving markedly towards the paw
-
Dewclaws approaching or pressing into the skin
-
Splitting or peeling
-
A nail repeatedly catching on fabric
-
Redness or swelling around the nail bed
-
A change in how the dog places the paw
-
Clicking accompanied by obvious excessive length
-
Difficulty obtaining traction
-
Pain when one toe is handled
There is no single trim interval for every dog. Nail growth, exercise surface, age, conformation and medical health all affect how frequently care is needed.
Check the nails approximately weekly so you can notice gradual change before they become painful or difficult to shorten.
Check for Pain Before You Begin Training
A dog resisting paw handling may not have a training problem.
Possible painful conditions include:
-
A split or partially torn nail
-
An exposed quick
-
A nail curled into the pad
-
Nail-bed infection
-
Red or swollen toes
-
A grass seed or other foreign body
-
Interdigital inflammation
-
A pad injury
-
Arthritis
-
Hip, knee or elbow disease
-
Neck or spinal pain
-
Neurological disease
-
Skin allergy or infection
Pain can directly cause defensive behaviour and can worsen existing fear or aggression. Veterinary assessment is essential when physical discomfort may be contributing. (AAHA)
Arrange a veterinary examination when:
-
Paw sensitivity appeared suddenly
-
Only one foot or toe is affected
-
The dog is limping
-
The toe is swollen
-
A nail is cracked or hanging
-
There is pus, blood or an unusual odour
-
The dog repeatedly licks one paw
-
Side-lying appears physically difficult
-
The dog cries during movement
-
Behaviour changed significantly without an obvious training explanation
Do not attempt to improve food motivation while continuing to handle an infected or fractured nail.
How Comfortable Is Your Dog During Nail Care?
| Level | What it may look like | What to do |
|---|---|---|
| Comfortable | Loose body, normal breathing, voluntary side-lying, gentle food taking and repeated re-engagement | Continue with one small step |
| Mild uncertainty | Brief head lift, looking away, lip licking or mild paw withdrawal | Pause and make the next repetition easier |
| Moderate stress | Repeated attempts to get up, persistent tension, panting, trembling or refusal to re-engage | End the session and reassess the setup |
| High risk | Freezing, growling, snapping, frantic escape or increasingly forceful paw withdrawal | Stop handling and obtain professional help |
| Medical concern | Pain, swelling, broken nail, lameness, weakness or sudden behavioural change | Arrange a veterinary examination |
| Emergency | Uncontrolled bleeding, serious injury, collapse or breathing difficulty | Attend an emergency veterinary hospital |
The correct response to early concern is not automatically to increase the value of the food. Sometimes the dog needs less pressure, a different position or medical care.
What Do You Need for Training?
Use:
-
A quiet room
-
A floor-level non-slip mat
-
Small rewards your dog values
-
A marker word or clicker
-
Suitable dog nail clippers or a grinder
-
Good lighting
-
Styptic powder
-
A towel for minor mess
-
Short sessions
-
An optional helper who feeds or observes rather than restrains
Avoid training on:
-
A slippery floor
-
A narrow table
-
A sofa from which the dog could fall
-
A moving grooming surface
-
A busy room
-
A location where other animals compete for food
AAHA recommends the least stressful safe handling approach and warns against excessive physical restraint for routine procedures such as nail trimming. (AAHA)
Should You Use Clippers or a Grinder?
Either may work.
Clippers
Potential advantages:
-
Quiet between cuts
-
Fast
-
No vibration
-
Easy to use for one small trim
Potential disadvantages:
-
Sudden clipping pressure
-
Sharp sound
-
Greater consequence if too much nail is removed at once
-
Some dogs dislike the tool enclosing the nail
Grinder
Potential advantages:
-
Removes small amounts gradually
-
Can smooth sharp edges
-
May be easier around dark nails for some handlers
Potential disadvantages:
-
Continuous noise
-
Vibration
-
Heat if held against the nail for too long
-
Hair may become caught
-
Some dogs find powered equipment more frightening
The better tool is the one that can be used safely and that your dog tolerates after appropriate conditioning.
Phase 1: Teach the Side-Lying Position
Step 1: Choose a Safe Surface
Place a non-slip mat on the floor.
The mat should be:
-
Large enough for the dog’s entire body
-
Soft enough to protect elbows and hips
-
Firm enough that the dog does not sink or wobble
-
Positioned away from walls and furniture
Allow your dog to investigate before asking for anything.
Step 2: Teach or Capture a Down
Your dog should first be comfortable lying with the chest on the floor.
You can:
-
Cue a familiar down
-
Capture the dog lying down naturally
-
Use a food lure when necessary
-
Shape the movement in smaller parts
Mark and reward when the elbows and chest reach the mat.
Do not push down on the shoulders or pull the front legs forward.
Step 3: Reward a Hip Shift
Many dogs naturally shift one hip to the side while resting.
When your dog relaxes one hip:
-
Mark.
-
Deliver the reward close to the mat.
-
Allow the dog to remain in position.
-
Release before the dog becomes uncomfortable.
You may gently guide the nose towards the shoulder using food, but the movement should remain small and physically easy.
Step 4: Reward the Shoulder Lowering
From the hip-shifted down, watch for the shoulder moving towards the mat.
Reward progressively:
-
A small weight shift
-
One elbow moving outward
-
The shoulder lowering
-
The side of the chest making contact
-
The dog settling fully onto the side
Do not pull the legs, roll the body or press the shoulder down.
Step 5: Reward Full Side-Lying
Once the shoulder and hip are both resting against the mat:
-
Mark
-
Place the food near the dog’s mouth
-
Release after a brief moment
-
Allow the dog to stand normally
At first, half a second may be enough.
Step 6: Add a Release Cue
Teach a clear end to the position.
Possible release words include:
-
“Free”
-
“Finished”
-
“All done”
Say the release, then encourage your dog to stand or move towards a reward.
The release cue prevents the dog from having to guess whether they are still expected to remain down.
Step 7: Build Duration Gradually
Increase from:
-
Half a second
-
One second
-
Two seconds
-
Several seconds
-
Several rewards while remaining in position
Do not make the dog hold the position until they eventually get up.
Release while the body remains loose.
Step 8: Let the Head Position Develop Naturally
Some dogs rest their head almost immediately. Others prefer to keep it raised.
Do not make a flat head position compulsory unless it has a specific practical purpose.
If you want to teach a separate head rest:
-
Place a folded towel beneath the likely head position.
-
Reward looking towards it.
-
Reward the chin moving lower.
-
Reward brief chin contact.
-
Build duration separately.
A dog can be cooperative and comfortable while keeping the head raised.
Step 9: Add a Cue Later
Once your dog predictably moves onto their side, introduce a cue such as:
-
“Side”
-
“Settle”
-
“Lie over”
Say the cue immediately before the dog begins the familiar movement.
The mat itself may remain the strongest contextual signal, and that is perfectly acceptable.
Step 10: Practise Both Sides When Comfortable
Being able to lie on either side gives access to all four paws.
However, do not insist on both sides if:
-
One side is painful
-
The dog repeatedly avoids one position
-
The dog has recent surgery
-
Breathing appears less comfortable on one side
-
A veterinarian has advised positional restrictions
A consistent side preference warrants closer attention when it appears suddenly.
Phase 2: Turn Side-Lying Into a Cooperative Start Position
Once your dog can lie on their side comfortably, make the relationship between their position and your handling clear.
Begin With Non-Paw Touch
Use the following sequence:
-
Dog lies on the side.
-
You touch the shoulder for one second.
-
Mark and reward.
-
Release the dog.
If the dog gets up before the touch:
-
Do not chase
-
Do not reposition physically
-
Reset
-
Make the next repetition easier
Respect Withdrawal
If the dog lifts the head, gets up or moves away:
-
Remove your hands
-
Put the tool down
-
Allow a break
-
Wait for voluntary re-engagement
The dog should learn:
Leaving the position makes the handling pause.
That predictability is what gives the position practical meaning.
Watch More Than the Position
Continue only while the dog has:
-
Loose limbs
-
Normal breathing
-
Soft facial muscles
-
No repeated avoidance
-
No hard paw withdrawal
-
No increasing vigilance
-
Willingness to return after breaks
A dog may technically remain on their side while becoming progressively more distressed.
Phase 3: Condition Paw Handling
Do not begin by gripping the foot.
Work down the limb in small stages.
Step 1: Touch the Shoulder or Hip
Touch for one second, then mark and reward.
Repeat until the contact is unremarkable.
Step 2: Move Down the Limb
Progress gradually through:
-
Shoulder or hip
-
Upper limb
-
Elbow or knee area
-
Lower limb
-
Top of the paw
Only add one new area at a time.
Step 3: Touch the Paw Briefly
Rest your hand lightly against the paw without lifting it.
Mark and reward.
Step 4: Cup the Paw Without Gripping
Place your hand around the paw gently.
Avoid:
-
Squeezing
-
Pulling
-
Twisting
-
Hyperextending joints
-
Holding the paw after the dog withdraws
Step 5: Lift for One Second
Lift only far enough to access the nail comfortably.
Support the limb in a natural position.
Release, mark and reward.
Step 6: Touch One Toe
Briefly touch or stabilise one toe.
Do not immediately separate every toe and manipulate the entire paw.
Step 7: Touch One Nail
Touch one nail with a fingertip or blunt object.
Then release.
Step 8: Repeat With Other Paws Separately
Comfort with one front paw does not guarantee comfort with:
-
The other front paw
-
Either hind paw
-
Dewclaws
-
A different handler
Each paw has its own training history and physical comfort.
Phase 4: Introduce the Nail Equipment
Step 1: Let the Tool Appear
Show the clippers or grinder from a distance.
Mark and reward when your dog notices it without becoming tense.
Then put it away.
Step 2: Move the Tool
Lift it, turn it and bring it gradually closer without touching the dog.
Do not point the clippers directly at the dog’s face.
Step 3: Condition the Sound
For clippers, practise cutting:
-
Dry pasta
-
A wooden cocktail stick held well away from the dog
-
Another safe material producing a similar sound
For a grinder:
-
Turn it on in another room
-
Turn it on briefly at a distance
-
Gradually move it closer over several sessions
-
Reward calm behaviour
The dog should always have space to move away.
Step 4: Introduce Vibration Separately
When using a grinder, touch the non-grinding end or handle gently against the dog’s shoulder for a moment while it is switched off.
Later, repeat with it switched on at low intensity if the dog remains relaxed.
Do not begin by placing the rotating head against a nail.
Step 5: Touch the Closed Clippers to a Nail
With the dog voluntarily side-lying:
-
Handle the paw briefly.
-
Touch the closed clipper against one nail.
-
Remove it.
-
Mark and reward.
-
Release.
Repeat over several sessions if necessary.
Step 6: Position the Tool Without Cutting
Place the clippers around the very end of the nail, then remove them without applying pressure.
This trains the most visually and physically specific part of the procedure before the first cut occurs.
Phase 5: Trim One Nail
Your dog may be ready for one tiny trim when they can:
-
Approach the mat voluntarily
-
Lie on the side without being rolled
-
Remain loose-bodied
-
Tolerate brief paw handling
-
Tolerate the tool touching the nail
-
Re-engage after a pause
-
Move away without being restrained
-
Show no escalating fear or aggression
There is no 80% threshold.
Readiness is based on the quality and reliability of the behaviour.
The First Cut
For the first real trim:
-
Choose an easy, clearly visible nail.
-
Remove only a very small amount from the tip.
-
Mark immediately.
-
Deliver a high-value reward.
-
Release the dog.
-
End the session.
One comfortable nail is a successful session.
You do not need to continue because the dog has another seventeen nails available.
Build Slowly
A possible progression is:
-
One nail
-
One nail on another paw
-
Two nails in one session
-
One complete paw
-
Several paws over separate sessions
The correct rate is the rate at which your dog remains comfortable.
How Do You Trim Nails Safely?
Light-Coloured Nails
The pink quick may be visible through the nail.
Leave a safe margin in front of it rather than cutting immediately beside the pink tissue.
Dark Nails
The quick is harder to see.
Remove very thin slices from the tip. As the centre becomes darker and more defined, stop before proceeding into the sensitive tissue. A 2026 canine nail-trimming study similarly used small progressive cuts and stopped as a central dark point indicated proximity to the quick. (Frontiers)
When uncertain, trim less.
Check Dewclaws
Dewclaws may not contact the ground and therefore receive little natural wear.
They can curl markedly and may eventually press into the skin if overlooked.
Keep Styptic Powder Available
Styptic powder can help control minor bleeding if the quick is accidentally cut. (Veterinary Hospital)
Ask your veterinarian, veterinary nurse or experienced reward-based groomer to demonstrate nail anatomy and tool placement before attempting a difficult trim alone.
Grinder Safety
When using a grinder:
-
Keep long hair away from the rotating head
-
Use brief contact
-
Check for heat
-
Avoid prolonged pressure against one spot
-
Allow pauses
-
Keep the dog’s face away from nail dust
-
Stop if the dog suddenly pulls away
Noise and vibration should be conditioned separately before actual grinding.
What Should You Do if You Cut the Quick?
Stay calm.
A frightened reaction from the handler can make the event even more memorable for the dog.
For minor bleeding:
-
Stop trimming.
-
Apply styptic powder.
-
Use steady gentle pressure.
-
Keep the dog on a clean surface.
-
Prevent licking until bleeding has stopped.
-
End the session.
Contact a veterinarian when:
-
Bleeding is heavy
-
Bleeding continues despite styptic powder and pressure
-
The nail is split or torn near the base
-
The dog is taking medication that affects clotting
-
A bleeding disorder is possible
-
The toe becomes swollen or painful
-
The dog remains non-weight-bearing
Afterward, return to several easy handling and tool-conditioning sessions before attempting another cut.
Can a Scratchboard Replace Nail Trimming?
A scratchboard can be useful for selected dogs.
It may help wear:
-
Front nails
-
Occasionally hind nails when a separate movement is trained
-
Sharp edges after trimming
It may not adequately address:
-
Dewclaws
-
Every hind nail
-
Uneven wear
-
Curved or already painful nails
-
Nails on a dog unable to perform the scratching movement comfortably
A scratchboard is best considered another cooperative nail-care tool rather than a guaranteed complete replacement.
What if Your Dog Refuses to Lie on Their Side?
Do not force the position.
First consider:
-
Is the floor slippery?
-
Is the mat large enough?
-
Does lying down appear painful?
-
Is the room too busy?
-
Has the position previously predicted restraint?
-
Is one side uncomfortable?
-
Is the reward appropriate?
-
Are you progressing too quickly?
Try:
-
A standing trim
-
A sitting position
-
A chin rest
-
A voluntary paw offer
-
A scratchboard
-
A different mat
-
Working with a reward-based groomer
-
Veterinary pain assessment
-
Pre-visit medication or sedation
Side-lying is not required for humane nail care.
What if Your Dog Needs a Nail Trim Now?
Training takes time. Painful or dangerous nail overgrowth should not be ignored while waiting for perfect cooperation.
Seek prompt veterinary or professional help when:
-
A nail is entering the paw pad
-
A nail is split or hanging
-
The dog is limping
-
The paw is swollen
-
The nails are repeatedly catching
-
The dog cannot walk comfortably
-
Previous attempts have involved biting or severe panic
A practical veterinary plan may include:
-
Trimming only the most urgent nails first
-
Dividing the trim across visits
-
Pre-visit anti-anxiety medication
-
Local pain control where needed
-
Injectable sedation
-
A complete examination for painful foot disease
AAHA recommends pausing or changing the approach when anxiety escalates and using chemical restraint when necessary for safety and welfare. Sedation is not a training failure. It may prevent another frightening or painful experience from becoming deeply established. (AAHA)
Do Not Use Multiple-Person Restraint as the Default
Several people pinning a struggling dog down may finish the nails that day, but it can:
-
Increase fear
-
Increase injury risk
-
Increase bite risk
-
Make later handling harder
-
Prevent accurate assessment of pain
-
Create stronger avoidance of the clinic or grooming area
AAHA specifically identifies multiple people holding an animal down for a nail trim as inappropriate restraint. (AAHA)
When necessary care cannot be completed gently, planned medication or sedation is usually preferable to escalating force.
How Long Does Training Take?
There is no fixed timeline.
A dog with no previous fear may learn the side-lying position within several short sessions. A dog with a history of painful trimming or forceful restraint may require weeks or months before a real nail is cut comfortably.
A practical progression might look like this:
Today
-
Check for pain
-
Choose a non-slip mat
-
Reward a down or hip shift
-
Finish after one or two easy successes
Over the Next 3 to 7 Days
-
Shape full side-lying
-
Add a release cue
-
Build several seconds of relaxed duration
Over the Following 1 to 3 Weeks
-
Introduce body and paw handling
-
Present the tools
-
Condition the sound
-
Touch a closed clipper to one nail
When the Dog Is Ready
-
Trim one small nail tip
-
Reward
-
End
This is an example, not a deadline.
Move forward when your dog remains comfortable. Move backwards when tension, avoidance or slower recovery appears.
When Is a Nail Problem an Emergency?
Seek immediate veterinary treatment when your dog has:
-
Uncontrolled or heavy bleeding
-
A nail torn almost completely from the toe
-
A deep paw injury
-
A nail embedded in the pad
-
Severe swelling with pus or spreading redness
-
Inability to bear weight after trauma
-
Collapse
-
Severe weakness
-
Breathing difficulty during restraint
-
Blue, grey, white or very pale gums
-
A serious injury caused while escaping
-
A suspected fracture
-
Severe pain that cannot be managed safely
A torn nail can bleed dramatically and may require pain relief, removal of unstable nail material, bandaging or sedation.
Do not continue a training session during an active injury.
What Should You Do Right Now?
If Your Dog Has Never Had a Difficult Nail Trim
-
Check the paws and nails.
-
Choose a floor-level non-slip mat.
-
Teach a relaxed down.
-
Reward a voluntary hip shift.
-
Build side-lying over several short sessions.
-
Introduce paw handling separately.
-
Keep the first real trim extremely small.
If Your Dog Is Mildly Worried
-
Stop attempting a complete nail trim.
-
Work at the easiest stage your dog can manage.
-
Allow the dog to leave.
-
Use one brief session each day or every few days.
-
Reinforce calm approach and touch.
-
Consider a standing position or scratchboard instead.
If Your Dog Growls, Snaps or Panics
-
Stop handling.
-
Do not punish the warning.
-
Prevent unsupervised attempts by other household members.
-
Check for pain.
-
Contact your veterinarian.
-
Discuss pre-visit medication, sedation and behavioural support.
-
Use a professional experienced in reward-based cooperative care.
Before the Next Veterinary or Grooming Visit
Tell the team:
-
Which position your dog knows
-
What the pause signal is
-
Whether the dog has bitten
-
Which paws are most difficult
-
Whether pain is suspected
-
Which rewards work
-
Whether pre-visit medication has been prescribed
-
Whether the trim should be divided into smaller stages
Bring the familiar mat when practical.
Common Mistakes With Side-Lying Nail Training
Treating the Position as Automatic Consent
A dog can remain on their side while frightened or frozen. Watch the whole body and respond to withdrawal.
Physically Rolling the Dog
Pulling the legs or pressing the shoulder down turns a cooperative exercise into restraint.
Holding the Paw After the Dog Pulls Away
This teaches the dog that quiet withdrawal is ineffective.
Trimming Every Nail During the First Success
One comfortable nail is enough. Continuing until the dog finally struggles damages the value of the earlier cooperation.
Using Food to Hide the Procedure
Allowing a dog to lick continuously while suddenly clipping a nail may create surprise and distrust. Food should reinforce predictable handling, not conceal it.
Training on a Slippery or Elevated Surface
The dog may be resisting the surface rather than the nail care. Work on a secure mat at floor level.
Assuming a Frozen Dog Is Relaxed
Stillness needs to be interpreted with breathing, muscle tension, facial expression and freedom to leave.
Ignoring Pain
A fractured nail, arthritic joint or infected toe cannot be trained into feeling comfortable.
Progressing by Repetition Count Alone
Five repetitions do not guarantee readiness. Ten successful food deliveries do not cancel tense body language.
Refusing Medication or Sedation
Medication can make humane care possible when fear or pain is too intense for learning.
Can Fear of Nail Trimming Be Prevented?
Not every fearful response can be prevented, but early preparation helps.
Practical prevention includes:
-
Handling paws gently during puppyhood
-
Pairing brief touch with valued outcomes
-
Teaching a release cue
-
Introducing clippers before nails urgently need trimming
-
Practising tool sounds
-
Checking nails weekly
-
Completing small trims rather than waiting for severe overgrowth
-
Using a non-slip surface
-
Avoiding forced restraint
-
Treating painful paw disease promptly
-
Maintaining easy practice sessions between real trims
-
Allowing veterinary medication when needed
Do not make every side-lying session predict nail cutting. Include easy repetitions where your dog lies down, receives a reward and is immediately released.
This preserves the position as a familiar behaviour rather than turning the mat into a warning that an entire pedicure is about to occur.
What Is the Likely Outcome?
Many dogs can learn to participate more comfortably in nail care.
Success may mean:
-
Lying on the side voluntarily
-
Offering one paw
-
Remaining relaxed for one nail
-
Completing different paws on different days
-
Using a scratchboard for part of the care
-
Accepting trims with pre-visit medication
-
Needing less restraint
-
Recovering more quickly after handling
-
Receiving safe veterinary sedation rather than enduring panic
Not every dog will eventually enjoy nail trimming, and not every dog will prefer lateral recumbency.
The meaningful outcome is not whether every nail can be completed in one session. It is whether necessary care can be provided without unnecessary pain, fear or risk.
Frequently Asked Questions
Does my dog resting their head mean they consent to the nail trim?
No. Head position alone does not establish comfort or willingness. Consider the whole body, whether the dog entered the position voluntarily, whether they can leave and whether lifting the head causes handling to pause.
Does my dog have to lie on their side for nail trimming?
No. Dogs may be trimmed while standing, sitting, offering a paw or performing another trained position. The safest and most comfortable posture depends on the individual dog.
How long does side-lying training take?
Some dogs learn the position within several sessions. Dogs with pain, previous restraint or a frightening nail-trim history may need weeks or months. Progress according to body language rather than a fixed schedule.
Are clippers or a grinder better?
Neither is universally better. Clippers are fast but produce sudden pressure and sound. Grinders remove small amounts gradually but create continuous noise, vibration and heat. Use the tool your dog can be conditioned to tolerate safely.
What should I do if I cut the quick?
Stop trimming, apply styptic powder and gentle pressure, and keep the paw clean. Seek veterinary care if bleeding is heavy, does not settle, the nail is split near its base or your dog may have a clotting problem. (Veterinary Hospital)
The Most Important Takeaway
Teaching a dog to lie on their side can make nail care easier, but the position itself is not the measure of success.
A useful cooperative position is one the dog enters voluntarily, can leave easily and trusts will cause handling to pause when they withdraw.
Build the process in layers:
-
Teach comfortable side-lying.
-
Add a clear release.
-
Condition body and paw handling.
-
Introduce the tools.
-
Trim one tiny piece from one nail.
-
Stop while the experience is still successful.
Do not roll the dog over, grip a withdrawing paw or interpret freezing as calmness. Check for pain whenever tolerance changes suddenly, and use medication or sedation when essential care cannot be completed safely.
One relaxed nail is better than a complete trim achieved through panic.
If your dog panics, growls, becomes painful or cannot safely receive essential nail care, ASK A VET™ can help you organise the signs and decide whether the next step should be training support, pain assessment or veterinary-assisted trimming.

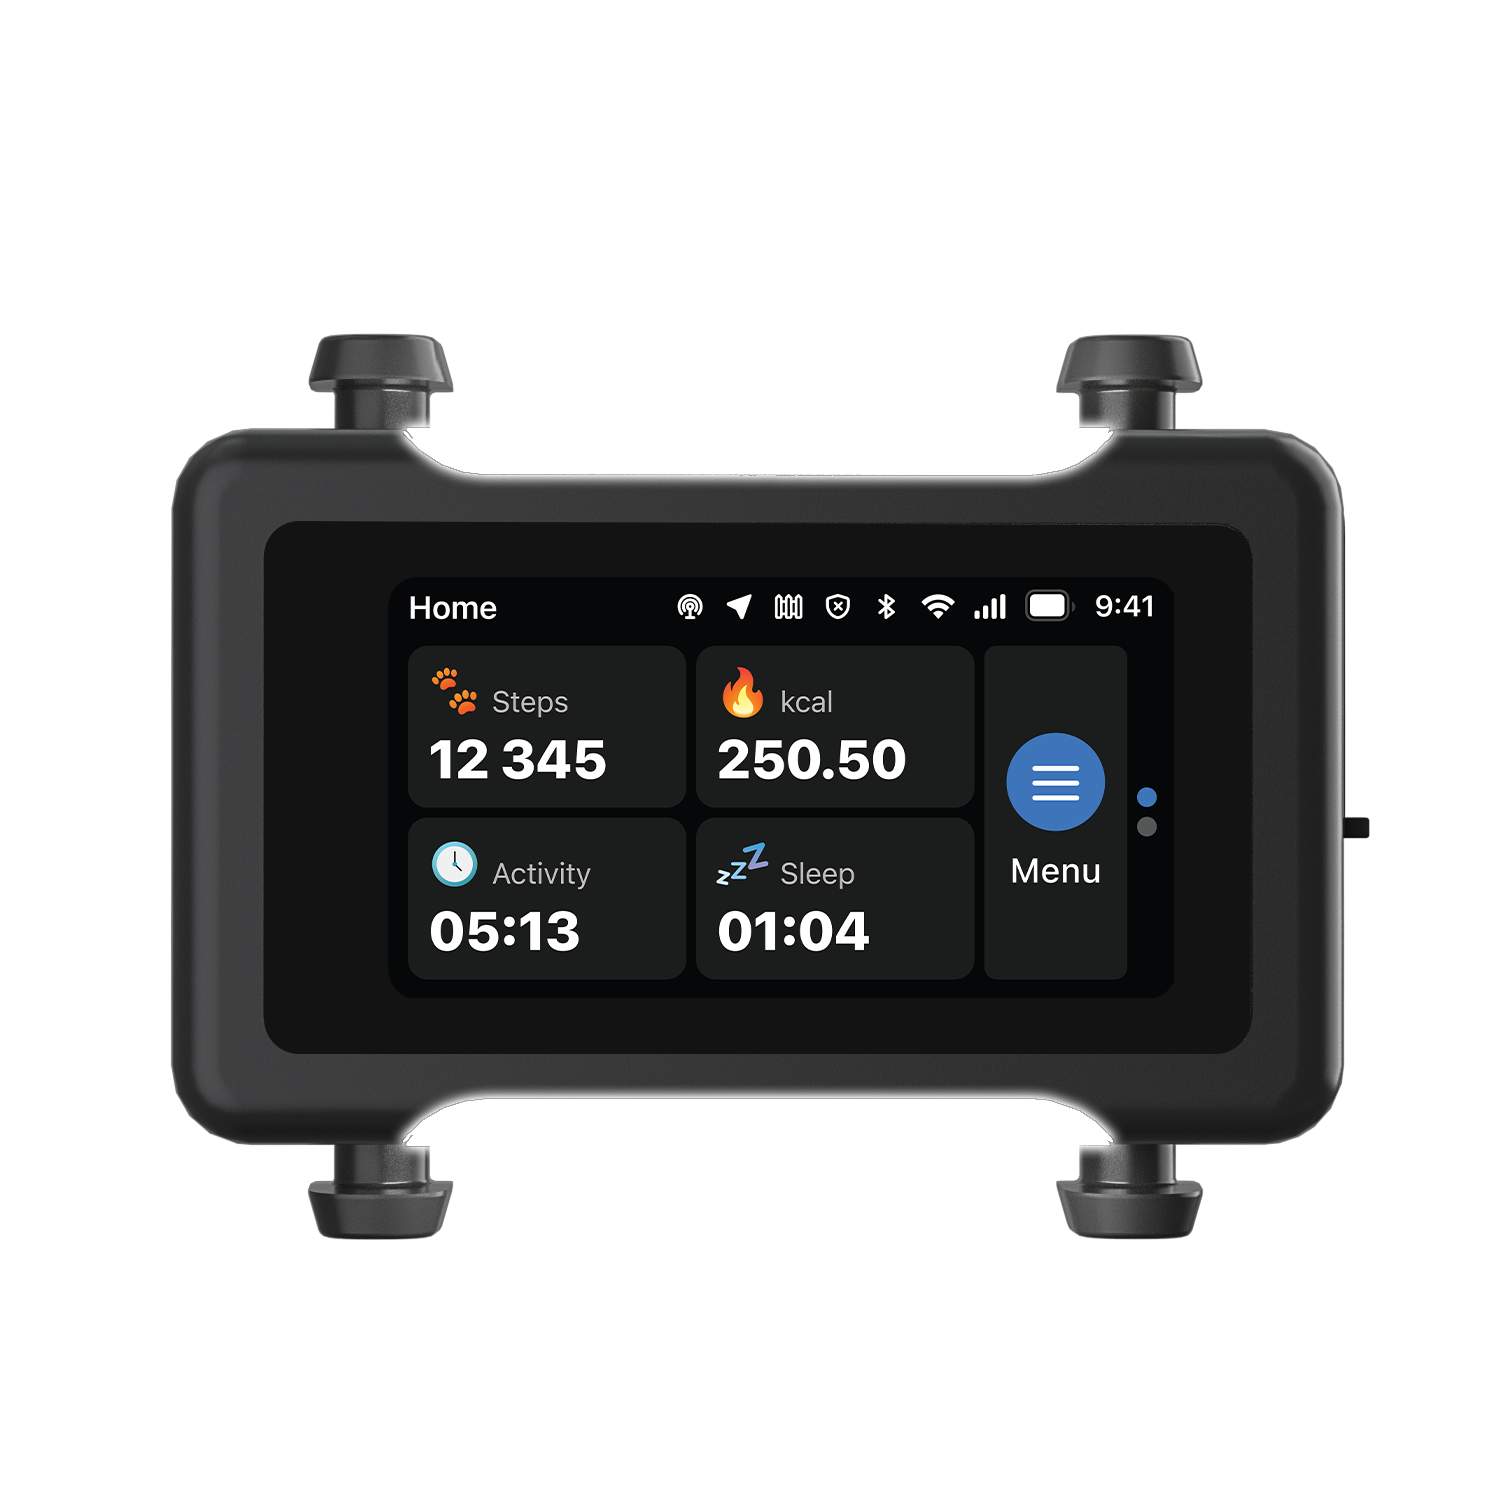
The ASK A VET™ Tracker logs live location and activity trends, so a change in routine never goes unnoticed.

Every ASK A VET article is written and reviewed by qualified veterinarians.