




How to Get a Puppy Used to a Collar, Harness and Leash
By Dr Duncan Houston
A puppy’s first experience with walking equipment can be surprisingly dramatic.
Some puppies freeze the moment a harness is fastened. Others scratch at their collar, bite the leash or flatten themselves onto the floor as though walking three metres from the front door is an outrageous personal demand.
Mild uncertainty is common because collars, harnesses and leashes feel unfamiliar. The key is to introduce each item gradually, make sure it fits correctly and teach walking as a separate skill.
Quick Answer
Introduce the collar, harness and leash one at a time through short, reward-based sessions. Begin by rewarding your puppy for approaching the equipment, then progress to brief contact, fastening it for a few seconds, moving while wearing it and finally following gentle leash guidance.
Never drag a puppy that freezes. Persistent scratching, coughing, limping, panic or a sudden refusal to wear previously accepted equipment warrants a fit check and, when necessary, a veterinary examination.
What Are You Actually Teaching Your Puppy?
Getting ready for a walk involves several separate skills:
-
Accepting the equipment: Your puppy is comfortable seeing and being touched by the collar, harness and leash.
-
Wearing the equipment: Your puppy can move normally while the equipment is fitted.
-
Walking on a leash: Your puppy learns how to follow you and keep the leash reasonably loose.
These skills do not develop automatically together.
A puppy can happily wear a harness and still pull. Another puppy may understand loose-leash walking indoors but freeze when taken outside because the environment feels overwhelming.
The aim does not need to be a puppy who becomes visibly excited whenever the harness appears. Relaxed, neutral acceptance is an excellent result.
Collar, Harness or Both?
Many puppies wear both:
-
A lightweight flat collar for identification
-
A harness as the main leash attachment point
Neither option is perfect for every dog.
| Equipment | Useful for | Main limitation |
|---|---|---|
| Flat collar | Identification and leash attachment in puppies that do not pull heavily | Leash pressure is concentrated around the neck |
| Harness | Reducing direct pressure on the neck and providing more secure body control | Poor fit may rub, restrict movement or allow escape |
| Fixed-length leash | Consistent everyday walking and training | Still requires active loose-leash teaching |
| Long line | Controlled exploration and recall practice in open areas | Can tangle around people, animals and objects |
| Retractable leash | Variable-distance exploration in selected low-risk settings | Maintains variable tension and makes close control harder |
Research into collars and harnesses remains limited, and no piece of equipment should automatically be declared harmless. A 2026 review concluded that design, fit, activity and the individual dog all matter, with more research needed to establish the long-term clinical effects of different equipment. (Frontiers)
When Is a Harness the Better Leash Attachment?
A properly fitted harness is often preferable when a puppy:
-
Pulls or suddenly reaches the end of the leash
-
Coughs or gags against a collar
-
Has a flat face or noisy breathing
-
Has neck or spinal discomfort
-
Has tracheal disease
-
Has glaucoma or another eye condition
-
Is extremely small or physically delicate
-
Is frightened and may try to reverse out of the equipment
Collar pressure has been associated with increased intraocular pressure in dogs. A 2025 study found that collars may elevate eye pressure during exercise and may also increase it while standing in brachycephalic, or flat-faced, dogs. (PubMed Central (PMC))
This does not mean a harness prevents every injury or is automatically more comfortable. The harness must fit correctly and allow normal movement.
Does a Harness Stop Pulling?
No.
A harness changes where leash pressure is applied. It does not teach a puppy how to walk.
In one controlled study involving 52 shelter dogs, dogs produced greater leash tension and pulled for longer in a back-attachment harness than in a collar when trying to reach food. The difference was not found when they were trying to reach a toy, so the result should not be treated as a universal rule. It does show that a harness should not be expected to solve pulling by itself. (PubMed Central (PMC))
Loose-leash walking still needs to be trained.
How Should a Puppy’s Collar Fit?
Choose a lightweight flat collar with:
-
A secure buckle
-
Smooth edges
-
Minimal unnecessary weight
-
Enough room for normal breathing and swallowing
-
An identification tag with current contact details
-
No tightening, choking or inward-facing components
The collar should be snug enough that the puppy cannot easily reverse out of it, but not tight enough to compress the neck.
Check beneath the collar regularly for:
-
Redness
-
Hair loss
-
Moisture
-
Crusting
-
Swelling
-
Tenderness
-
An unusual smell
Puppies grow quickly. Equipment that fitted well last week may already be too tight.
How Should a Puppy’s Harness Fit?
A walking harness should:
-
Sit away from the throat
-
Remain centred rather than twisting sideways
-
Avoid rubbing immediately behind the front legs
-
Stay clear of the elbows during movement
-
Allow normal shoulder and forelimb movement
-
Be secure enough that the puppy cannot back out
-
Avoid trapping hair or pinching skin
-
Allow normal breathing
No harness design has been proven universally superior for every dog. Studies have found that some harnesses can alter shoulder extension or other aspects of gait, including designs marketed as non-restrictive. The clinical importance of these changes remains uncertain, but fit should be assessed while the puppy is moving rather than only while standing still. (Frontiers)
Watch your puppy walk from the front, side and rear. Reassess the harness when you notice:
-
A shortened stride
-
Stiff or unusual movement
-
One leg moving differently
-
Rubbing behind the elbows
-
Repeated scratching
-
Straps sliding across the throat
-
The chest section rotating sideways
-
An ability to reverse out
What Type of Leash Should You Use?
For early training, a lightweight fixed-length leash is usually easiest.
Choose one with:
-
A clip appropriate for the puppy’s size
-
A comfortable handle
-
Enough length for natural movement
-
No damaged or frayed sections
-
Hardware that does not strike the puppy’s legs or chest
A heavy clip can be surprisingly distracting for a small puppy.
Retractable leashes are usually poor teaching tools for beginners because they create changing leash lengths and often maintain constant low-level tension. A long line can be useful later in an open area, but it should usually be attached to a secure harness and never used beside roads, cyclists or unfamiliar dogs.
Is It Normal for a Puppy to Resist the Equipment?
Mild hesitation is common.
A puppy may initially:
-
Sniff the item
-
Walk away briefly
-
Scratch once or twice
-
Move a little stiffly
-
Mouth a loose strap
-
Sit down
-
Shake their body
-
Look towards the buckle or clip
These responses may simply reflect novelty.
The reaction becomes more concerning when the puppy:
-
Repeatedly runs away
-
Freezes for prolonged periods
-
Trembles
-
Screams or cries
-
Urinates or defecates during handling
-
Growls, snaps or bites
-
Cannot re-engage after the equipment is removed
-
Coughs, gags or makes abnormal breathing sounds
-
Develops skin redness or wounds
-
Starts limping
-
Shows a sudden change after previously accepting the equipment
How Can You Tell Whether Your Puppy Is Stressed?
Possible signs include:
-
Turning the head away
-
Leaning or moving away
-
Repeated lip licking
-
Yawning outside a sleepy context
-
Panting without heat or exercise
-
Lowered body posture
-
Tucked tail
-
Ears held back
-
Freezing
-
Trembling
-
Persistent scratching at the equipment
-
Refusing to move
-
Frantic attempts to escape
One isolated yawn, lip lick or scratch does not prove that a puppy is distressed. Look at the complete pattern and whether signs intensify as the equipment approaches.
A wagging tail does not automatically mean the puppy is comfortable. Tail height, speed, body tension and the puppy’s ability to approach or retreat all matter.
| Level | What it may look like | What to do |
|---|---|---|
| Comfortable | Loose body, voluntary approach, normal movement and ordinary interest in food or play | Continue with one small step |
| Mild uncertainty | Brief hesitation, looking away or one or two scratches | Pause and make the next repetition easier |
| Moderate stress | Repeated avoidance, lowered posture, persistent scratching or refusal to move | Remove the equipment and return to an earlier step |
| High concern | Panic, screaming, snapping or frantic escape attempts | Stop training and seek veterinary or behavioural advice |
| Emergency | Choking, severe breathing difficulty, blue gums, collapse or serious entanglement | Remove pressure when safe and seek immediate veterinary treatment |
Reward-based methods are recommended for puppy training and behaviour modification. AVSAB advises against training approaches that rely on force, pain, intimidation or physical corrections. (AVSAB)
How to Introduce a Collar Step by Step
Step 1: Let the Collar Appear
Hold the collar far enough away that your puppy remains comfortable.
When your puppy looks at it:
-
Mark with “yes” or a click.
-
Give a small reward.
-
Move the collar away.
-
Repeat.
The equipment should predict something pleasant without being pushed towards the puppy.
Step 2: Reward Voluntary Approach
Hold the collar still at puppy height.
Reward your puppy for:
-
Looking towards it
-
Moving closer
-
Sniffing it
-
Remaining relaxed beside it
Do not chase your puppy around the room with the collar.
Step 3: Introduce Brief Contact
Touch the side of the neck with the collar for one second.
Then mark, reward and remove it.
Repeat on both sides. If your puppy moves away, shorten the contact during the next repetition.
Step 4: Practise the Buckle Sound
Some puppies react more strongly to the buckle click than to the collar itself.
Open and close it at a distance, reward calm behaviour and gradually bring the sound closer.
Step 5: Fasten It Briefly
Fasten the collar for one or two seconds, reward and remove it.
Gradually build towards:
-
Five seconds
-
Ten seconds
-
Walking several steps
-
Playing briefly
-
Eating part of a meal
-
Resting while wearing it
There is no fixed timetable. Progress according to your puppy’s comfort.
Step 6: Teach Collar Handling
Your puppy should also learn that a person touching or briefly holding the collar is safe.
Progress from:
-
Touching the collar
-
Placing one finger beneath it
-
Holding gently for one second
-
Attaching the leash
-
Briefly guiding the puppy away from a doorway
Reward each step.
Avoid grabbing the collar only when fun ends or something is about to be taken away. That can teach the puppy to dodge approaching hands.
How to Introduce a Harness Step by Step
Step 1: Present the Harness
Hold the harness still or place it nearby.
Reward your puppy for looking, approaching and investigating without pushing the harness over their head.
Step 2: Work Out the Difficult Part
Depending on the design, your puppy may need to:
-
Put their head through an opening
-
Step into leg loops
-
Accept straps moving around their chest
-
Tolerate several buckles
Practise each part separately.
A puppy worried about objects passing over their head may do better with a harness that opens around the neck. A puppy that dislikes paw handling may initially prefer a head-through design.
Step 3: Teach Voluntary Head Placement
Hold the neck opening wide and stationary.
Reward your puppy for:
-
Looking through it
-
Moving their nose towards it
-
Placing the nose inside
-
Moving part of the head through
-
Putting the full head through briefly
Allow the puppy to withdraw freely.
Do not pull the harness over the puppy’s head while they stretch towards food. Following a treat is not the same as being comfortable with the equipment.
Step 4: Introduce Body Contact
Once your puppy willingly places their head through:
-
Rest one strap against the shoulder
-
Move a strap beneath the chest
-
Touch the side of the body
-
Lift the harness away again
Mark and reward each brief contact.
Step 5: Fasten One Buckle
Fasten one buckle, reward and release it.
Build towards fastening the complete harness for several seconds.
Step 6: Add Movement
Some puppies appear comfortable until they try to walk.
Reward:
-
A weight shift
-
One step
-
Turning the head
-
Following your hand
-
Walking across the room
-
Playing briefly while wearing it
Do not pull the leash to make the puppy move.
Step 7: Recheck the Fit
Watch what happens when the puppy walks, sits, lies down and turns.
A harness that appears perfect while the puppy stands still may rub, twist or restrict movement once the puppy starts moving.
How to Introduce the Leash
Step 1: Condition the Clip
Show your puppy the leash, then open and close the clip away from the body.
Reward calm investigation.
Step 2: Attach It Briefly
Clip the leash to the collar or harness for one second, reward and remove it.
Repeat until the sound and weight of the clip produce little reaction.
Step 3: Hold It Without Tension
Attach the leash and allow a relaxed curve.
Initially, move with your puppy rather than immediately expecting the puppy to follow you.
Reward calm movement and prevent the clip from bouncing against the body.
Step 4: Teach Following Indoors
Take one step away.
When your puppy follows:
-
Mark the movement.
-
Reward beside your leg.
-
Pause.
-
Repeat.
Build from one step to several.
Reward placement matters. Delivering every treat far in front of the puppy may encourage rushing ahead.
Step 5: Introduce Gentle Leash Guidance
Apply only enough steady pressure for your puppy to notice.
The moment the puppy moves towards the pressure:
-
Release the pressure
-
Mark
-
Reward
This is not a leash correction. Never jerk, snap or drag the leash.
Step 6: Practise Direction Changes
Teach your puppy to:
-
Turn with you
-
Follow a hand target
-
Move around furniture
-
Stop beside you
-
Walk away from a doorway
-
Return towards you
Keep the environment quiet while these skills are new.
Never Leave a Leash Dragging Unsupervised
A leash can become caught around:
-
Furniture
-
Crate bars
-
Door handles
-
Stairs
-
Another animal
-
The puppy’s legs or neck
A lightweight house line may be useful during supervised training, but it should be removed when nobody is actively watching. Equipment-related entanglement and pressure injuries are recognised safety concerns even though the veterinary evidence base remains limited. (Frontiers)
How to Start Walking Outside
Wearing equipment indoors does not automatically prepare a puppy for the outdoor world.
Outside adds:
-
Traffic
-
People
-
Other dogs
-
Wind
-
New surfaces
-
Sudden sounds
-
Strong smells
-
Greater distance from home
Begin at the Doorway
Practise:
-
Approaching the door
-
Standing while it opens
-
Taking one step outside
-
Returning indoors
-
Following you through the doorway
-
Eating or playing near the entrance
A puppy that freezes outside may be worried about the environment rather than the equipment.
Keep Early Outings Brief
A successful first outing may involve:
-
Toileting near home
-
Sniffing the front garden
-
Walking a few metres
-
Watching people from a safe distance
-
Exploring one new surface
-
Returning indoors before fear or fatigue develops
Distance is not the measure of success.
A puppy who calmly investigates five metres of pavement has learned more than one dragged around the entire block.
Allow Sniffing
Sniffing is normal exploration.
Your puppy does not need to maintain a formal heel throughout the walk. Use closer walking near roads and hazards, then allow more freedom to investigate in safer areas.
Reward Voluntary Check-Ins
Mark and reward your puppy for:
-
Looking towards you
-
Following a direction change
-
Walking while the leash is loose
-
Returning after sniffing
-
Moving past a mild distraction
-
Keeping four paws on the ground near people
Do Not Force Greetings
Your puppy does not need to meet every person or dog.
Socialisation means safe, positive exposure, not compulsory physical interaction. Controlled socialisation can begin before the final puppy vaccination when infectious disease risk is managed appropriately, but heavily trafficked dog areas and contact with dogs of unknown health status should be avoided. Ask your veterinarian which environments are appropriate locally. (AVSAB)
What If Your Puppy Freezes or Lies Down?
Do not pull.
First consider:
-
Is the surface hot, cold, slippery or unfamiliar?
-
Is the harness pressing somewhere?
-
Is the leash too heavy?
-
Is the puppy frightened?
-
Is the puppy tired?
-
Is there a noise or object ahead?
-
Could movement be painful?
Then try:
-
Turning sideways
-
Moving to a quieter area
-
Rewarding one small weight shift
-
Presenting a familiar hand target
-
Returning indoors
-
Removing and checking the equipment
If the puppy repeatedly refuses to move across several environments, arrange a veterinary assessment.
What If Your Puppy Bites the Leash?
Leash biting may reflect:
-
Play
-
Teething
-
Frustration
-
Overexcitement
-
Fatigue
-
Discomfort
-
A leash swinging near the face
-
Attempts to escape leash pressure
Try:
-
Holding the leash so it does not bounce
-
Rewarding several steps before biting begins
-
Using a lighter leash
-
Reducing the session length
-
Checking collar and harness fit
-
Offering an appropriate chew after the session
-
Ending before the puppy becomes overtired
Do not yank the leash from the puppy’s mouth or turn it into a tug game.
Replace any leash that has been partially chewed. A damaged leash can fail without warning.
What If Your Puppy Scratches at the Collar or Harness?
One or two scratches may simply reflect novelty.
Persistent scratching can indicate:
-
Poor fit
-
A trapped hair
-
A rough seam
-
Pressure behind the front legs
-
Contact irritation
-
Fleas or mites
-
Skin infection
-
Allergy
-
Significant discomfort with the equipment
Remove the item and examine the skin.
Arrange veterinary care when you find:
-
Redness
-
Broken or moist skin
-
Swelling
-
Pustules
-
Crusting
-
Hair loss
-
Odour
-
Pain
Do not leave the equipment on continuously in the hope that the puppy will eventually stop reacting.
What If the Puppy Can Back Out of the Harness?
Stop using it outdoors until the fit has been corrected.
A frightened puppy can reverse out quickly.
Possible safety options include:
-
A more adjustable harness
-
A harness with an additional body strap
-
A double-ended leash attached to two suitable points
-
A safety connector between the collar and harness
-
A design intended for narrow-headed or deep-chested dogs
Test the security indoors using gentle backward pressure while the puppy remains calm. Do not deliberately frighten the puppy to see whether they can escape.
How Do You Teach Loose-Leash Walking?
Begin somewhere quiet.
-
Reward your puppy while the leash is loose.
-
Take one or two steps.
-
Reward beside your leg.
-
Pause before the puppy reaches full tension.
-
Change direction or stop when pulling begins.
-
Continue when the puppy returns towards you.
-
Use access to safe sniffing as a reward.
Do not use:
-
Leash jerks
-
Choke chains
-
Prong collars
-
Electronic collars
-
Physical intimidation
-
Repeated shouting
Reward-based methods are effective for teaching practical skills and avoid the established welfare risks associated with aversive training. (AVSAB)
Could Resistance Mean Pain or Illness?
Yes, particularly when a puppy suddenly resists equipment they previously wore comfortably.
Possible medical causes include:
-
Ear or dental pain
-
Neck or back pain
-
Shoulder or elbow discomfort
-
A fractured nail or limb injury
-
Skin inflammation beneath the equipment
-
Brachycephalic airway disease
-
Tracheal irritation
-
Eye pain
-
Neurological disease
-
General illness
Arrange a veterinary examination when resistance occurs with:
-
Crying or yelping
-
Coughing or gagging
-
Noisy or difficult breathing
-
Limping
-
Head tilt
-
Reduced appetite
-
Weakness
-
Poor coordination
-
Swelling
-
Marked irritability
-
A sudden personality change
Do not try to train a puppy through untreated pain.
When Is This an Emergency?
Seek immediate veterinary treatment if your puppy develops:
-
Severe breathing difficulty
-
Blue, grey, white or very pale gums
-
Choking or strangulation
-
Collapse
-
Loss of consciousness
-
Severe swelling around the neck
-
Sudden inability to stand
-
Major injury after becoming entangled
-
Seizures
-
Rapidly worsening airway noise
-
A penetrating wound caused by damaged equipment
Remove pressure from the neck when this can be done safely.
If equipment is trapped and the puppy cannot breathe, cut it rather than spending time trying to preserve it. Collars and harnesses are replaceable. Puppies are rather less so.
What Should You Do Right Now?
Today
-
Check the fit of the collar and harness.
-
Inspect the neck, chest and skin behind the front legs.
-
Choose one item to introduce first.
-
Prepare several small rewards.
-
Reward looking at and approaching the equipment.
-
Complete only a few easy repetitions.
-
Stop before your puppy becomes frustrated.
Over the Next Few Days
Practise:
-
Brief body contact
-
Buckle and clip sounds
-
Voluntary head placement
-
Wearing the item for several seconds
-
Taking one or two steps
Over the Following Week
Build towards:
-
Moving comfortably indoors
-
Wearing the equipment during calm play
-
Brief leash attachment
-
Following you for several steps
-
Doorway practice
-
Short outdoor exploration
This is not a compulsory seven-day deadline. Some puppies progress quickly. Others require several weeks.
Common Mistakes
Putting Everything On at Once
The collar, harness, leash, doorway and outside environment each add difficulty.
Introduce them separately.
Chasing the Puppy With the Harness
This teaches the puppy that the harness predicts being pursued.
Allow voluntary approach.
Pulling the Harness Over the Head While the Puppy Reaches for Food
The puppy may be following the food rather than feeling comfortable with the equipment.
Teach voluntary head placement first.
Dragging a Puppy That Freezes
Freezing may indicate uncertainty, fear, fatigue, pain or a poor fit.
Dragging does not solve any of these.
Assuming a Harness Teaches Walking
A harness changes pressure distribution. Loose-leash walking remains a trained behaviour.
Leaving Equipment On Unsupervised
Harnesses, collars and leashes can snag or trap part of the body.
Remove unnecessary equipment during unsupervised confinement, rough play and rest.
Choosing Equipment Only by Appearance
A fashionable harness that rubs both armpits is still a poor harness.
Fit, security and normal movement come first.
Punishing Resistance or Leash Biting
Punishment can make the equipment predict conflict.
Reduce the difficulty and reward the response you want.
Can Fear of Walking Equipment Be Prevented?
Risk can be reduced by:
-
Introducing equipment before the first necessary walk
-
Using lightweight puppy-sized gear
-
Checking fit frequently during growth
-
Practising buckle and clip sounds
-
Teaching collar handling separately
-
Allowing voluntary approach
-
Using reward-based training
-
Preventing leash entanglement
-
Removing unnecessary equipment during unsupervised time
-
Pairing the equipment with several pleasant activities
-
Treating pain or skin disease promptly
-
Practising in more than one environment
Do not make the harness predict only stressful veterinary visits or the end of play. Allow it to predict sniffing, food, exploration and ordinary relaxed outings as well.
Frequently Asked Questions
How long does it take a puppy to get used to a harness?
Some puppies become comfortable within a few short sessions. Others need days or weeks, particularly when equipment passes over the head or a previous experience was frightening. Progress according to the puppy’s behaviour rather than a fixed timetable.
Should a puppy wear a collar and harness together?
Yes, many puppies wear a collar for identification and a harness for leash attachment. Both must fit properly, and the straps should not rub or become tangled.
Should I leave my puppy’s harness on indoors?
Usually not during unsupervised time, crating, rough play or sleep. Prolonged wear can cause rubbing or snagging, particularly as the puppy grows.
Why does my puppy refuse to walk on a leash?
Common causes include unfamiliar equipment, fear of the environment, fatigue, a heavy leash, poor fit, slippery surfaces and pain. Do not drag the puppy. Make the situation easier and seek veterinary advice when refusal is sudden, persistent or accompanied by physical signs.
Can my puppy go outside before completing every vaccination?
Controlled, low-risk socialisation can begin before the vaccination course is complete. Avoid heavily contaminated areas and unknown dogs, and ask your veterinarian about suitable local environments and puppy classes. (AVSAB)
The Most Important Takeaway
Getting a puppy comfortable with a collar, harness and leash is not one exercise.
Your puppy must learn that:
-
The equipment is safe to approach
-
Touch around the neck and body is predictable
-
Buckles and clips are harmless
-
Wearing the equipment does not prevent normal movement
-
Gentle leash guidance is understandable
-
Following you produces rewarding outcomes
Introduce each item separately, check the fit throughout growth and teach loose-leash walking as its own skill.
Do not pull a frozen puppy forward or leave equipment on until they “get used to it”. Reduce the difficulty, watch the whole body and investigate pain whenever a previously comfortable puppy suddenly resists.
A successful first walk may cover only a few metres. What matters is that your puppy feels safe enough to explore, moves normally and is ready to try again tomorrow.
If your puppy freezes, panics, coughs, becomes painful or repeatedly escapes from their walking equipment, ASK A VET™ can help you organise the signs and decide whether the next step should be an equipment adjustment, training support or a veterinary examination.
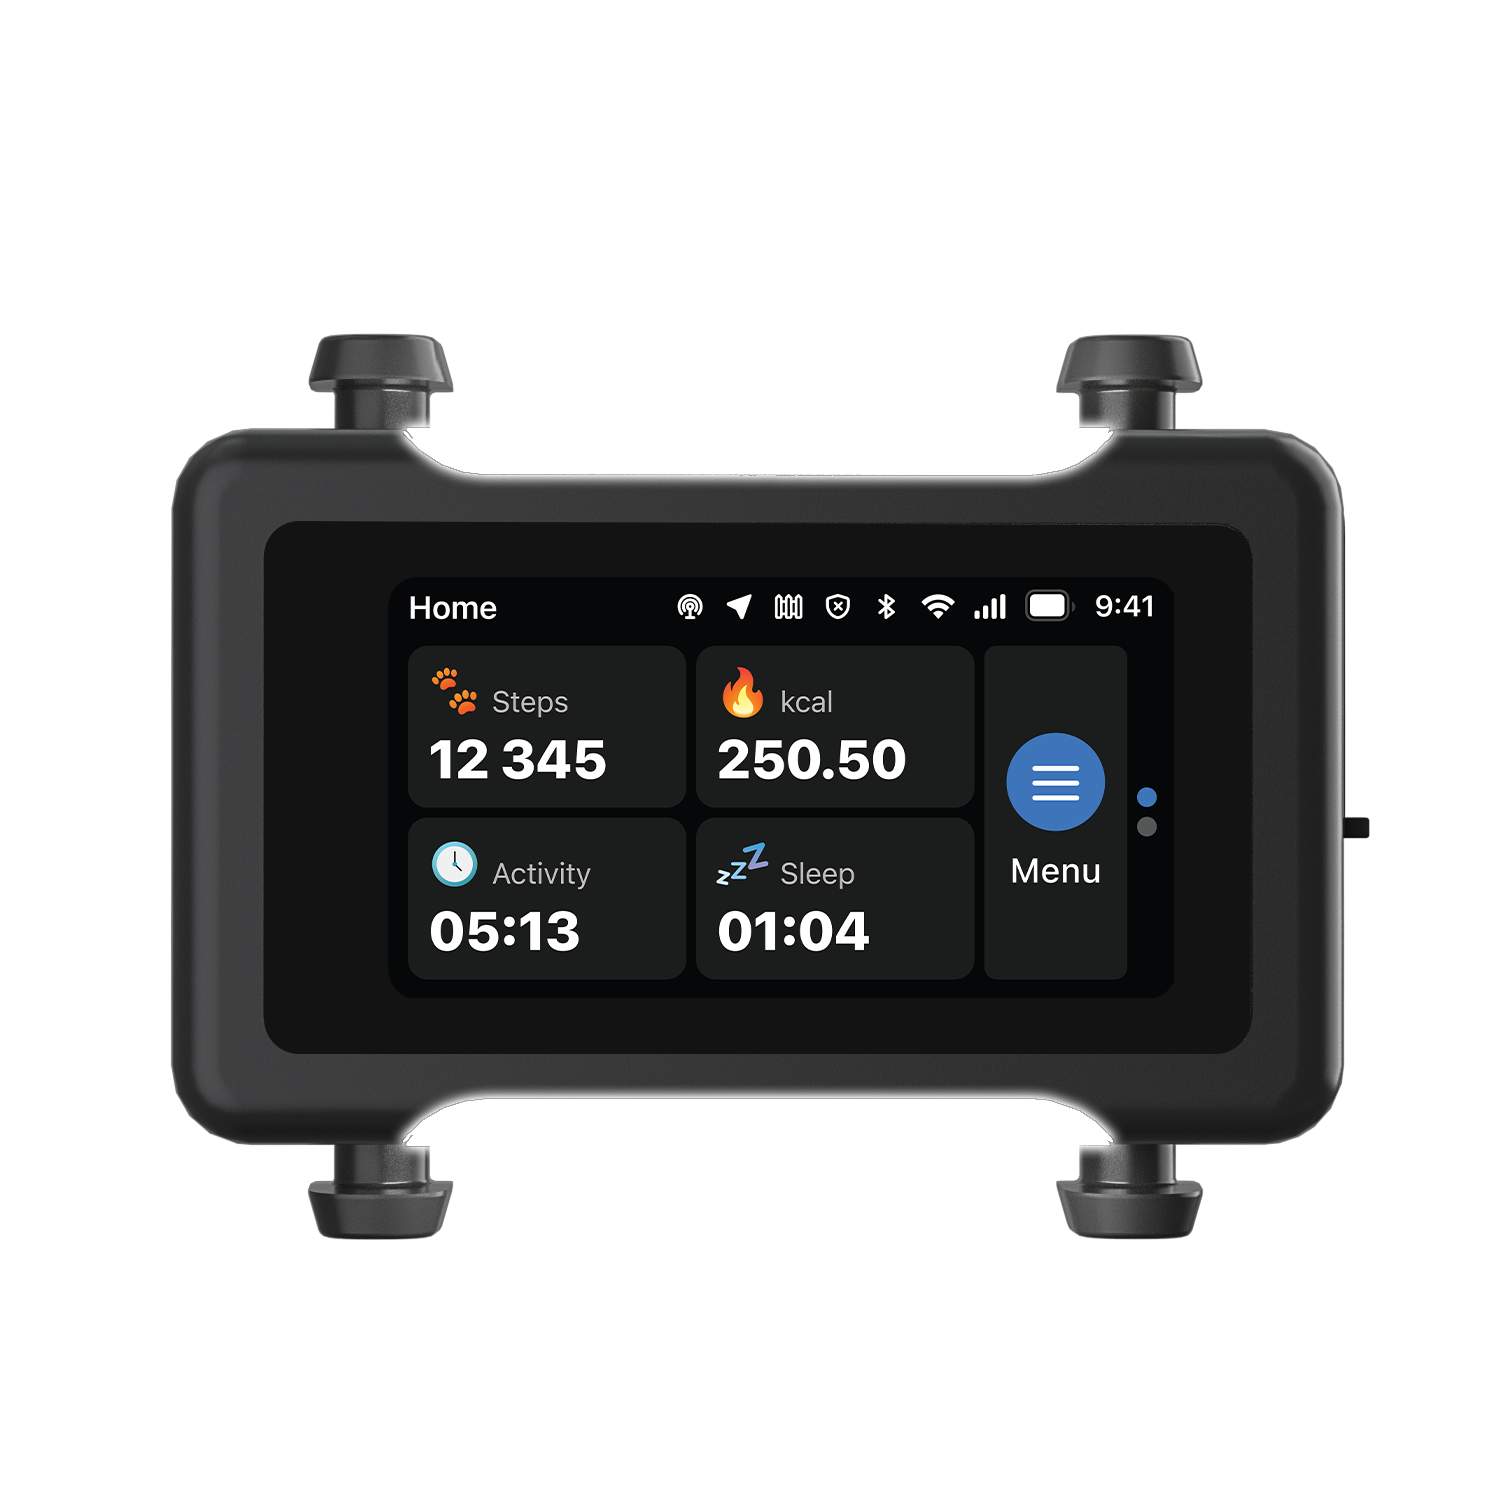
The ASK A VET™ Tracker logs live location and activity trends, so a change in routine never goes unnoticed.

Every ASK A VET article is written and reviewed by qualified veterinarians.