



How to Set Up a Safe Treatment Station for Your Dog or Cat
By Dr Duncan Houston
A treatment station is a familiar place where your pet can practise grooming, medication and other routine care. When it is designed thoughtfully and introduced gradually, it can make handling more predictable and encourage voluntary participation.
It is not a restraint device, a medicine cupboard or a miniature operating theatre. Some treatments still require veterinary staff, pain relief, anxiety medication or sedation, and choosing those options is not a training failure.
Quick Answer
Set up the station in a quiet, well-lit area with stable, non-slip footing and enough room for both you and your pet. Floor level is usually safest. Secure external doors and windows while leaving your pet free to step away within the room.
Store medicines, sharps and cleaning products securely elsewhere. Bring out only what you need, practise several reward-only sessions first, and teach a clear start and stop behaviour. Use the station only for procedures your veterinarian has approved for home care.
What a Treatment Station Can Do
A treatment station can provide:
-
A consistent surface and location
-
Predictable beginning and ending cues
-
Better footing during handling
-
A place to practise voluntary positions such as a chin rest
-
Easier organisation for the caregiver
-
Opportunities to build positive associations before treatment is needed
This approach is part of cooperative care, in which animals are taught to participate voluntarily where circumstances allow. AAHA describes stationing and targeting as useful cooperative-care skills.
The evidence is promising but not magical. A small 2022 pilot study of dogs found mixed transfer from cooperative-care training to a formal veterinary examination. Individual temperament, pain, procedure type, training quality and environment still matter.
Is Home Treatment Appropriate?
Before building a station around a particular procedure, ask whether that procedure should be performed at home at all.
| Usually suitable after instruction | Contact your veterinarian before continuing | Seek urgent veterinary care |
|---|---|---|
| Brushing and coat checks | Sudden handling intolerance | Breathing difficulty |
| Teeth-brushing practice | A painful, swollen or infected area | Collapse or seizures |
| Prescribed oral or topical medication | A missed, vomited or duplicated dose | Blue, grey or very pale gums |
| Ear or eye medication already prescribed for the current condition | An eye, ear or wound problem that has not been examined | Uncontrolled bleeding |
| Glucose testing, injections or fluids after hands-on veterinary training | Bandage application or replacement when you have not been trained | Severe pain or inability to stand |
| Minor wound care specifically approved by your veterinarian | Repeated escape, panic, growling, hissing or snapping | Poisoning, overdose or the wrong medication |
| Routine nail and paw care in a comfortable pet | Any procedure requiring force or several people to hold the pet | Deep wounds, bite wounds, burns or eye trauma |
Pain can change behaviour rapidly. If a previously comfortable pet suddenly avoids touch, growls, hides or struggles, arrange a veterinary assessment instead of treating the reaction as a training problem.
Step 1: Choose the Right Location
Look for a place that is:
-
Quiet and away from household traffic
-
Free from noisy appliances and visually triggering windows
-
Comfortable in temperature and adequately ventilated
-
Bright enough to identify medicines and inspect the treatment area
-
Large enough for your pet to stand, turn or lie down comfortably
-
Spacious enough for you to work without twisting or reaching across the pet
-
Away from food preparation, dining areas and litter trays
-
Protected from interruptions by children and other animals
Secure doors, windows and other routes leading outside before beginning. At the same time, avoid cornering your pet. They should be able to step off the station and move to a safe place within the room.
Keep your pet's primary bed, hiding place and feeding area separate where possible. Repeatedly performing unpleasant procedures in a treasured refuge may make that location feel unsafe.
Step 2: Select a Safe Station Surface
| Station type | Best suited to | Safety considerations |
|---|---|---|
| Floor mat | Most dogs and mobility-compromised pets | Use a flat, washable mat large enough for the entire stance. Check that the surrounding floor is also non-slip. |
| Low platform | Comfortable, mobile dogs already trained to use it | It must be broad, weight-rated, level and completely stable. Provide secure steps or a ramp when needed. |
| Carrier base | Cats that feel secure in their carrier | Choose a carrier with a removable top. Leave the entrance accessible during training and never tip or pull the cat out. |
| High-sided bed or shallow box | Cats that prefer some enclosure | Ensure it is stable, washable and easy to leave. Do not trap the cat against a wall. |
| Elevated table | Selected small pets when floor work is impractical | Use only with a stable, non-slip, weight-rated surface. Stay within reach and prevent jumping or falls. Never leave the pet unattended. |
Floor level is the safest default for large, senior, painful, weak, sedated or neurologically impaired animals. An ordinary chair, bench or kitchen counter is rarely a suitable substitute for purpose-built support.
For cats, the lower half of a familiar removable-top carrier can be especially useful. Cat-friendly guidance supports allowing a cat to remain in the carrier base when that feels safer than being removed for handling. See the AAFP/ISFM Cat Friendly Veterinary Interaction Guidelines.
Step 3: Organise Supplies Without Creating a Hazard
The station itself should not double as an open cupboard. Store medication, chemicals and sharp tools securely between sessions, then bring out only what you need.
Useful session supplies may include:
-
A washable non-slip mat or towel
-
The exact prescribed medicine or treatment product
-
The measuring device supplied for that medicine
-
Procedure-specific tools approved by your veterinarian
-
Clean gauze or dressings where instructed
-
An absorbent pad and waste bag
-
A timer or clock
-
A written treatment plan and log
-
Suitable rewards, if your pet is allowed to eat
-
A separate container for used reusable tools
-
An approved sharps container when injections or lancets are involved
-
Your veterinary clinic's contact details
Divide the workspace into a clean side and a used side. Never return used gauze, applicators or instruments to the clean-supply container.
Keep cords, bottles and sharp objects away from the pet's exit path. A startled tail can reorganise a workstation remarkably efficiently.
Step 4: Prevent Medication and Sharps Errors
Store each medicine:
-
In its original, labelled container
-
Separately from human medication
-
Separately from medicines belonging to other pets
-
At the temperature and light conditions stated on the label
-
Inside a secure cabinet inaccessible to animals and children
The FDA recommends separating medicines for every person and pet to prevent mix-ups.
Before every dose, confirm:
-
The correct pet
-
The correct medicine and strength
-
The correct amount
-
The correct route
-
The correct time and frequency
-
Any food instructions
-
The expiry date
Do not crush, split, dilute, share or change a medicine unless the prescribing veterinarian approves it. If a dose is missed, spat out, vomited or possibly given twice, call the clinic rather than automatically repeating it.
If needles or lancets are used, have the disposal container ready before treatment begins. Place used sharps directly into an approved puncture-resistant container. Do not leave, bend, break or recap them, and never put loose sharps into household rubbish or recycling. The FDA provides detailed home sharps guidance.
Step 5: Introduce the Station Before Using It
Begin when no treatment is planned.
Stage 1: Reward Interest
Place the mat, carrier base or bed in position. Mark and reward your pet for looking at it, approaching it or investigating it.
Do not lift or push your pet onto the station.
Stage 2: Build a Station Position
Reward progressively closer approximations:
-
One paw, then all paws on a dog mat
-
Entering or settling inside a cat carrier base
-
Standing, sitting or lying comfortably
-
Remaining briefly while you move nearby
Keep early sessions around 30-60 seconds. Finish while your pet still wants to participate.
Stage 3: Add a Release Cue
Use a consistent phrase such as "all done", then toss a treat away or invite the pet to leave. A clear ending makes the routine more predictable.
Include plenty of visits in which nothing happens except rewards and release.
Step 6: Teach a Start and Stop Behaviour
A start behaviour tells you that your pet is ready for a small handling step. Examples include:
-
A dog resting their chin on a towel or target
-
Standing voluntarily on the mat
-
Offering a paw
-
A cat remaining in an open carrier base
-
A relaxed nose or chin target
Begin touching or presenting a tool only after the behaviour is offered.
If your pet lifts their chin, withdraws the paw, steps off, turns away or breaks position, remove your hands and equipment immediately. Pause and allow a reset. The signal represents genuine voluntary participation only when you honour the decision to stop during non-urgent practice.
Stationing, stillness and food consumption do not automatically mean the pet is comfortable. Cats in particular may freeze rather than struggle.
Step 7: Introduce Handling and Tools Gradually
Condition each tool separately before using it.
A nail-clipper progression might look like this:
-
Clippers appear at a distance
-
Clippers move slightly closer
-
You pick them up
-
They touch the shoulder briefly
-
They touch the upper leg
-
You hold a paw for one second
-
Clippers touch one nail
-
One nail is trimmed
Reward after each successful step. Increase only one variable at a time, such as duration, pressure, body location, tool sound or proximity.
The same principle applies to brushes, ear-drop bottles, syringes, thermometers and wound-care supplies. If an object already predicts fear, retrain it away from the station before bringing it back.
Reward-based training is recommended over aversive methods in the AVSAB Humane Dog Training Position Statement.
How to Read Your Pet's Response
| Comfortable enough to continue | Pause and make the task easier | Stop the session |
|---|---|---|
| Loose muscles and natural movement | Turning the head or body away | Repeated escape attempts |
| Normal breathing | Lip licking or yawning | Freezing or marked crouching |
| Voluntary return after release | Ears moving back or sideways | Trembling or intense panting unrelated to heat |
| Willingly offers the start behaviour | Weight shifting or withdrawing a paw | Growling, hissing, swatting or snapping |
| Takes their usual reward normally | Sudden slowing or hesitation | Refusal of a normally valued reward |
| Can disengage and re-engage | Tail lowering, tucking or lashing | Biting or scratching |
Never punish warning signals. A growl or hiss is valuable information that the situation has become unsafe.
If your pet reaches the stop column, end the session and create distance. Persistent fear, protective behaviour or bite risk warrants help from a veterinarian or appropriately qualified reward-based behaviour professional.
Food, Music and Pheromones
Food Rewards
Food can strengthen positive associations, but it is not proof that your pet wants handling to continue.
Do not use a lick mat or treats when your pet:
-
Must fast for a procedure
-
Is vomiting or nauseated
-
Cannot swallow normally
-
Has an aspiration risk
-
Is following a food-elimination trial
-
Has dietary restrictions requiring veterinary approval
Use a small amount and watch your pet consume any medication completely. Do not bury a dose in a full meal or loaded lick mat where incomplete dosing may be missed.
Check human foods carefully. Xylitol, sometimes found in nut butters and other products, is highly dangerous to dogs.
Music and White Noise
Low-volume music or white noise may mask unpredictable sounds for some animals. Others find it irritating. Keep the volume low and provide an opportunity to move away.
Synthetic Pheromones
Species-specific pheromone products may help some pets, but the evidence varies and they should be considered optional adjuncts. A systematic review found insufficient evidence for many claimed uses.
Follow the product label, never spray it directly onto your pet and allow sprayed surfaces to dry fully. International Cat Care advises applying feline pheromone spray to a carrier at least 20 minutes before use so the alcohol can evaporate.
Do not substitute essential-oil diffusers. Concentrated oils can expose pets through inhalation, skin contact, grooming or ingestion.
Cleaning and Infection Control
For ordinary grooming or training, routine cleaning is often sufficient. More thorough disinfection may be needed after contact with blood, urine, faeces, wound discharge or an infectious animal.
A practical sequence is:
-
Remove hair, dirt and visible organic material.
-
Wash with detergent or soapy water.
-
Rinse and dry.
-
Apply disinfectant only when indicated.
-
Use the labelled dilution and wet-contact time.
-
Rinse again if the label requires it.
-
Allow the surface to dry completely before the pet returns.
The AAHA infection-control guidance stresses cleaning away organic material before disinfection and following the manufacturer's concentration and contact time.
Also remember:
-
Wash your hands before and after treatment.
-
Gloves do not replace handwashing.
-
Never mix bleach with ammonia or another cleaner.
-
Never spray surface disinfectant onto your pet.
-
Keep animals away while products are being used and until surfaces are dry.
-
Avoid phenol-containing disinfectants around cats.
-
Use exceptional care with fumes around birds.
-
Keep clean towels separate from soiled laundry.
-
Do not share uncleaned tools between animals.
If your pet has a contagious condition or draining wound, follow the cleaning and isolation instructions provided by your veterinarian.
Your Before-Treatment Checklist
Before inviting your pet to the station:
-
Secure external exits.
-
Remove children and other animals from the room.
-
Confirm the correct pet, medicine, dose, route and time.
-
Check the label, concentration and expiry date.
-
Prepare every required item.
-
Place sharps disposal within your reach if needed.
-
Wash your hands.
-
Check the station and surrounding floor for traction.
-
Observe your pet for pain, illness or stress.
-
Keep the procedure as brief as possible.
-
Use the start and stop signals you have practised.
-
Record the treatment and any unusual reaction.
-
Clean, dispose of and store everything safely afterwards.
Troubleshooting
| Problem | Likely explanation | What to do |
|---|---|---|
| Pet avoids the station | It predicts treatment, the surface is unstable or the location feels unsafe | Stop treatment there temporarily. Change the surface or location and return to reward-only visits. |
| Pet eats but flinches during handling | Food is distracting them but the handling step is still too difficult | Shorten the touch, move to an easier body area and give the pet genuine breaks. |
| Cat runs or hides | The setting is too exposed, the cat has been cornered or the process moved too quickly | Stop. Consider an open carrier base or high-sided bed in a quieter room. |
| Pet stays only while continuously licking | The session may be too long or difficult | Use shorter repetitions and release the pet before the food ends. |
| Dog growls or cat hisses | Fear, pain or defensive discomfort is escalating | Remove your hands, create space and end the session. Do not punish the warning. |
| The station has become "poisoned" | Too many unpleasant procedures occurred without easier practice | Build a new station in a neutral location and restart gradually. |
| Essential treatment cannot be delivered | The technique, formulation or handling plan is not workable | Contact the prescribing veterinarian promptly. Do not delay or force treatment. |
Possible veterinary solutions include pain relief, a different formulation, another administration method, pre-visit medication, clinic treatment or sedation. Sedation is sometimes the kindest and safest option.
Wound-Care Limits
Do not stock hydrogen peroxide, alcohol, essential oils, human creams or unprescribed antibiotic ointments as general pet wound treatments.
A minor superficial wound may sometimes be rinsed with clean lukewarm water or saline, but only use products your veterinarian recommends. Surgical incisions should not be cleaned or treated unless the veterinary team has instructed you to do so.
Bite wounds, punctures, embedded objects, burns, deep or gaping wounds, missing skin, eye injuries, significant contamination, marked pain, swelling, discharge, odour or lameness require veterinary assessment.
For significant bleeding, apply firm continuous pressure with clean gauze or cloth and travel to a veterinary clinic. Avoid repeatedly lifting the material to inspect the wound. General pet first-aid guidance is available from the AVMA.
Medication, Chemical and Sharps Emergencies
Call your veterinarian or an animal poison service immediately if:
-
The wrong medicine or dose was given
-
A medication may have been administered twice
-
A pet swallowed medication or chewed the packaging
-
A topical product was licked
-
A cleaner contacted the eyes, skin or mouth
-
A needle-stick injury occurred
-
Your pet develops tremors, weakness, repeated vomiting, facial swelling or breathing difficulty after treatment
Do not induce vomiting or attempt to neutralise a chemical unless a veterinary professional specifically instructs you to do so. Keep the packaging and prescription label available.
If a person receives a needle-stick injury, wash the area promptly with soap and water and seek medical advice.
Moving the Station
A familiar mat, towel or carrier base can travel to another room or, with prior permission, to the veterinary clinic. However, pets do not automatically generalise their training.
In every new location:
-
Recheck footing, lighting and exits
-
Begin with easy reward-only repetitions
-
Reduce handling difficulty
-
Watch for unfamiliar sounds and smells
-
Allow the pet to leave safely
The station is a helpful cue, not a force field against stress.
Frequently Asked Questions
Should the station remain set up all the time?
The mat, carrier or bed can remain available if your pet enjoys using it. Medicines, sharps, clippers and cleaning products should be stored securely elsewhere.
Can I use my kitchen counter?
Usually not. Kitchens introduce hygiene concerns, tempting food and substantial fall risk. A floor station or purpose-built low platform is safer for most pets.
Should I use my pet's normal bed?
Preferably not for procedures that may be uncomfortable. Keep their main refuge reliably safe and use a separate, recognisable station.
Does taking food mean my pet is relaxed?
No. Some animals continue eating while tense, and others freeze beside a lick mat. Assess the entire body and honour attempts to withdraw.
What if urgent medication is due and my pet opts out?
Do not turn the station into a wrestling area. Contact the prescribing clinic promptly for advice about technique, timing, formulation, medication support or clinic administration.
Can I use a muzzle?
A well-fitted basket muzzle can be useful safety equipment for a dog that has been positively trained to wear it. It does not mean the dog is comfortable and should never be used to justify forcing a painful or frightening home procedure.
How long does station training take?
Some pets learn the basic location in several short sessions. Comfortable participation in nail care, injections or other procedures may take weeks or longer. Progress according to body language, not a deadline.
Final Thoughts from Dr Duncan Houston
A well-designed treatment station makes care clearer, safer and more predictable. Its value comes from secure footing, careful organisation, gradual training and respect for the pet's response, not from simply placing a mat on the floor.
Prepare before you need the station, practise when nothing unpleasant is happening and recognise when professional treatment is the kinder option. The goal is cooperation whenever possible, never compliance at any cost.
If prescribed care cannot be delivered without fear, force or risk, ASK A VET™ can help you decide whether the setup needs changing or whether veterinary or behavioural support is the safer next step.
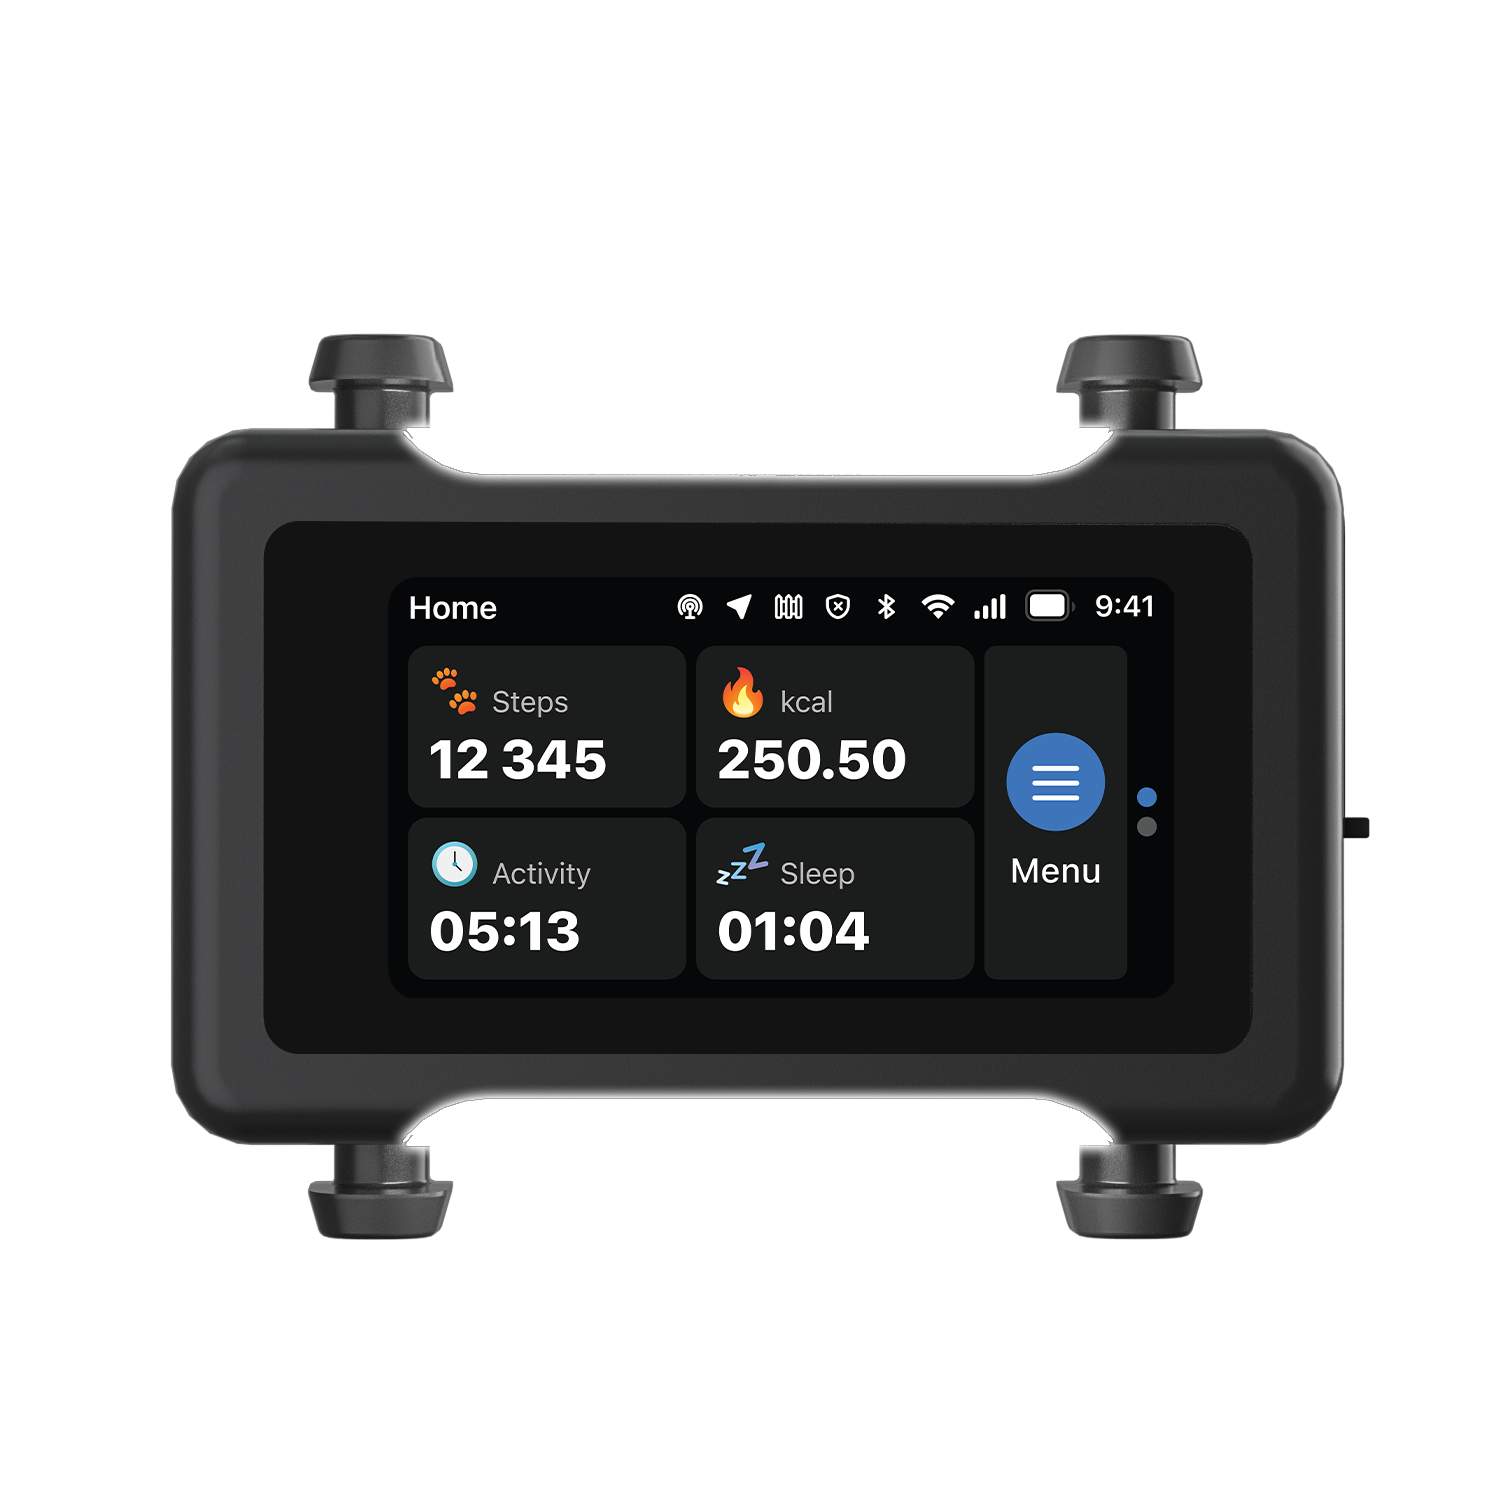
The ASK A VET™ Tracker logs live location and activity trends, so a change in routine never goes unnoticed.
Every ASK A VET article is written and reviewed by qualified veterinarians.