




How to Teach a Dog to Use a Nail Board for Their Hind Feet
By Dr Duncan Houston.
A nail board, also called a scratchboard, allows a dog to shorten their own nails by dragging them across an abrasive surface.
Most nail-board training focuses on the front paws. Hind-foot filing requires a different setup and movement, but it can be taught using a stable platform, carefully positioned board and reward-based shaping.
A nail board can be particularly helpful for dogs that dislike having their feet held. However, it does not replace regular inspection of every nail, and it may not be physically suitable for dogs with joint, spinal or balance problems.
Quick Answer
To teach your dog to file their hind nails:
-
Check that the exercise is physically appropriate.
-
Introduce the board without asking for scratching.
-
Teach your dog to place both front paws on a stable platform.
-
Position the nail board behind or below the platform at a gentle angle.
-
Encourage a comfortable forward weight shift.
-
Mark any rear-foot movement towards the board.
-
Progress from contact to a downward scraping motion.
-
Reward both hind feet rather than only the preferred side.
-
Keep sessions brief and inspect the nails frequently.
-
Continue checking nails that the board does not reach.
Never force your dog into a stretched position or continue after a nail becomes sore, cracked or excessively shortened.
What Is a Nail Board?
A nail board is a solid board covered with an abrasive surface, usually sandpaper or a purpose-designed filing material.
When the dog drags a nail across the surface, a small amount of the outer nail is removed.
Nail boards may be useful for:
-
Dogs frightened by clippers
-
Dogs sensitive about paw handling
-
Cooperative nail maintenance
-
Removing small amounts of nail frequently
-
Maintaining length between professional trims
-
Building confidence around grooming
Fear Free includes scratchboard training among its cooperative nail-care strategies, alongside consent cues, chin rests, paw offers and desensitisation.
How Hind-Foot Filing Is Different
Front-foot filing usually involves teaching the dog to paw or dig directly at an upright or angled board.
Hind-foot filing requires the dog to move or rake a rear paw backwards or downwards across the abrasive surface. This action is less natural for many dogs and must be taught separately.
A common setup involves:
-
Front paws on a low, stable platform
-
Hind paws remaining on a non-slip floor
-
A nail board positioned between the hind feet and platform
-
The dog shifting slightly forwards
-
One hind foot moving against the board to restore balance
Veterinary Partner describes hind-foot nail-board training as a separate behaviour from front-paw scratching.
Does Your Dog Need Their Hind Nails Filed?
Hind nails often wear more naturally than front nails, particularly in active dogs walking on firm surfaces. Some dogs may therefore need little or no hind-foot filing.
Check whether:
-
Nails contact the ground when the dog stands
-
Nails alter the position of the toes
-
Nails curve towards the paw pads
-
The dog slips on smooth floors
-
Nails catch on carpet or bedding
-
The dog has broken or split nails
-
Hind nails are noticeably longer than normal
Appropriate nail length varies with anatomy, posture, activity and health. Ask your veterinarian, veterinary nurse or qualified groomer if you are unsure.
Check Your Dog’s Health First
Hind-foot nail-board training involves balance, weight shifting and partial stretching.
Consult your veterinarian before beginning if your dog has:
-
Hip dysplasia
-
Arthritis
-
Knee or cruciate disease
-
Spinal pain
-
Neurological disease
-
Muscle weakness
-
Poor balance
-
Recent orthopaedic surgery
-
Paw injuries
-
Torn nails
-
Interdigital inflammation
-
Reduced vision
-
Difficulty standing
Stop and arrange an examination if your dog appears lame, stiff, weak or reluctant to use one hind leg.
A training exercise should never be used to push through physical discomfort.
What You Will Need
Prepare:
-
A stable nail board
-
A low, secure platform or step
-
Non-slip flooring
-
Small high-value treats
-
A clicker or verbal marker such as “yes”
-
Good lighting
-
A comfortable training area
The nail board should be:
-
Long enough for a full scraping movement
-
Wide enough to catch the nail safely
-
Free from sharp edges
-
Secured so it cannot slide
-
Covered with an appropriate abrasive surface
-
Easy to inspect and replace
Begin with a surface that removes nail gradually. A very coarse material can shorten nails too quickly or damage the surrounding skin.
Check that screws, staples and adhesive are completely covered.
Choosing the Platform
The platform should:
-
Support both front feet comfortably
-
Remain completely stable
-
Have a non-slip top
-
Be low enough for easy access
-
Suit your dog’s size and mobility
-
Allow a natural standing posture
Possible options include:
-
A low aerobic step
-
A stable training platform
-
A broad wooden step with non-slip covering
-
A low bench designed for dog training
Do not use unstable furniture, narrow boxes or slippery household stools.
Your dog should not need to jump, climb awkwardly or perform a handstand.
Step 1: Introduce the Nail Board
Place the board flat on the floor without asking your dog to scratch.
Reward:
-
Looking at the board
-
Approaching it
-
Sniffing it
-
Touching it
-
Standing calmly near it
Do not move the board towards your dog or place their paw onto it.
The first goal is simple familiarity.
If your dog has previously been frightened by grooming equipment, spend several sessions on this stage.
Step 2: Teach “Front Paws Up”
Remove the abrasive board temporarily and introduce the platform.
Reward your dog for:
-
Looking at the platform
-
Approaching it
-
Placing one front paw on it
-
Placing both front paws on it
-
Standing calmly with both hind feet on the floor
Deliver the reward at a comfortable nose height. Do not hold it so high that your dog strains their neck or tries to climb fully onto the platform.
Add a cue such as “paws up” only after the behaviour is predictable.
Step 3: Build Comfortable Duration
Before adding the nail board, confirm that your dog can remain in the front-paws-up position without:
-
Slipping
-
Trembling
-
Repeatedly stepping down
-
Arching the back
-
Shifting uncomfortably
-
Trying to climb onto the platform
-
Refusing food
Reward brief, relaxed duration and release your dog frequently.
A few seconds is enough at first.
Step 4: Add a Non-Abrasive Practice Surface
Some dogs benefit from learning the rear-foot movement against a carpeted or non-abrasive target before sandpaper is introduced.
Position the practice board:
-
Against the base of the platform
-
At a shallow angle
-
Where a moving hind foot can contact it naturally
Cue front paws onto the platform and reward any comfortable rear-foot adjustment.
This step allows your dog to learn the movement without immediately filing the nails.
Step 5: Position the Nail Board
Once the setup is comfortable, replace the practice surface with the nail board.
The bottom should be secured against the floor while the upper section rests firmly against or beneath the platform.
Begin with a gentle angle.
The correct angle depends on:
-
Dog height
-
Leg length
-
Platform height
-
Board length
-
Natural stance
-
Mobility
The dog’s back should remain comfortable and approximately neutral. Do not create an exaggerated stretch.
Step 6: Capture Rear-Foot Movement
Ask your dog to place their front paws on the platform.
Hold a treat slightly forwards at a natural nose height. As your dog shifts their weight forwards, a hind foot may lift, step or drag against the board.
Mark and reward any movement towards the board, including:
-
Lifting a hind paw
-
Moving it forwards
-
Touching the board
-
Sliding it slightly
-
Repositioning after contact
Early rewards tell your dog that movement of the back feet matters.
Do not wait for a perfect scratch before rewarding. That usually produces a confused dog staring at you while their back legs remain gloriously unemployed.
Step 7: Shape the Scraping Motion
Once your dog deliberately touches the board, gradually reward more useful movements.
Progress through:
-
Hind foot moves
-
Hind foot touches the board
-
Nails contact the surface
-
Foot moves down the board
-
Nails produce a controlled scraping motion
-
Dog repeats the motion voluntarily
Reward immediately after each successful movement.
Avoid rewarding frantic kicking. The goal is one controlled scrape at a time.
Step 8: Train Both Hind Feet
Many dogs quickly develop a preferred side.
Keep a record of which foot makes contact. If one foot is consistently missed, small changes may help:
-
Adjust your position slightly
-
Shift the reward a small distance towards the opposite side
-
Change the board angle
-
Reset the dog’s starting position
-
Reward smaller movements from the less-used foot
Do not twist your dog’s body or lure them into an unstable position.
If your dog continually avoids using one leg, arrange a veterinary examination to rule out discomfort.
Step 9: Add a Cue
Introduce a cue only after your dog reliably performs the hind-foot movement.
Possible cues include:
-
“Back scratch”
-
“Hind feet”
-
“File”
-
“Scratch”
Say the cue immediately before the expected movement, then mark and reward.
Use a separate cue from the one used for front-paw scratching. The two behaviours involve different body movements and setups.
Step 10: Reduce the Lure
Once your dog understands the movement:
-
Present an empty hand in the usual position.
-
Mark the scratch.
-
Reward from your other hand or treat pouch.
-
Gradually reduce the hand movement.
-
Continue using the verbal cue.
This prevents the dog from needing to see food before every repetition.
Rewards can be reduced gradually once the behaviour is reliable, but nail-board sessions should remain positive.
How Long Should Each Session Last?
Keep early sessions between one and three minutes.
Perform only a few scratches before checking the nails.
Short sessions help prevent:
-
Fatigue
-
Frustration
-
Repetitive strain
-
Over-filing
-
Damage to paw pads
-
Loss of enthusiasm
You can always practise again later. Nail material cannot be politely returned once removed.
Inspect the Nails Frequently
After every few scratches, check:
-
Nail length
-
Shape
-
Symmetry
-
Surface smoothness
-
Distance from the quick
-
Cracks or splitting
-
Paw pads
-
Skin and fur between the toes
Stop if you see:
-
Pink or red tissue
-
Bleeding
-
Nail sensitivity
-
Fraying
-
Splitting
-
Excessive heat from friction
-
Skin abrasion
-
Paw-pad damage
Dogs with clear nails may have a visible pink quick. In dark nails, frequent conservative filing is safer than attempting to remove a large amount at once.
What if a Nail Bleeds?
Stop the session immediately.
Apply gentle pressure with clean gauze. A pet-safe styptic product may be used according to its instructions.
Contact a veterinarian if:
-
Bleeding is heavy
-
Bleeding persists
-
The nail is cracked or torn
-
Your dog appears painful
-
The toe becomes swollen
-
Your dog will not bear weight
-
You are unsure how much damage has occurred
Do not resume filing until the area has healed.
A Nail Board May Not Reach Every Nail
Scratchboards commonly file some nails more effectively than others.
They may miss:
-
Dewclaws
-
Outer nails
-
Nails that do not contact the board
-
Nails on a leg the dog avoids using
-
Curved or unusually shaped nails
Inspect every nail individually.
Your dog may still require:
-
Clipping
-
Grinding
-
Hand filing
-
Professional grooming
-
Veterinary nail care
A scratchboard can be one part of a nail-care plan rather than the entire plan.
Combining Hind and Front Nail-Board Training
Front and hind scratching should be taught as separate behaviours.
Once your dog understands both, you may alternate between:
-
Front-paw scratching
-
Hind-foot scraping
-
Paw inspection
-
Cooperative handling
-
Clipper or grinder conditioning
Do not perform every exercise in one long session. Spread nail care over several short sessions.
Signs Your Dog Is Comfortable
Continue while you observe:
-
Voluntary approach
-
Loose posture
-
Normal breathing
-
Gentle treat-taking
-
Eager return after release
-
Controlled paw movement
-
Equal weight bearing
-
Relaxed facial expression
Pause if you notice:
-
Lip licking
-
Yawning
-
Leaning away
-
Refusing food
-
Trembling
-
Repeatedly stepping down
-
Avoiding one leg
-
Sudden sitting
-
Tucked tail
-
Frantic movements
-
Attempting to leave
-
Growling or snapping
Leaving is information. Reduce the difficulty rather than forcing another repetition.
Troubleshooting Common Problems
My Dog Only Uses One Hind Foot
Adjust your position slightly and reward small movements from the other foot. Check for lameness or pain if avoidance continues.
My Dog Climbs Onto the Platform
Lower the reward position and reinforce keeping the hind feet on the floor. Use a platform large enough for the front feet but not so inviting that the dog tries to settle fully on it.
My Dog Steps Over the Board
Adjust the board’s position or angle so the rear foot naturally contacts it during a weight shift.
My Dog Will Not Move Their Hind Feet
Reward tiny weight shifts. Try a non-abrasive practice surface and confirm that the platform is not too high.
My Dog Scratches Frantically
Reward one controlled movement, then release. Reduce excitement and use smaller, calmer rewards.
My Dog Avoids the Setup
Separate the components. Train the platform and board independently before combining them.
The Nails Are Filing Unevenly
Stop frequently and inspect each nail. Modify the angle, train each side separately or use another nail-care method for nails the board does not reach.
Common Nail-Board Mistakes
Using a Platform That Is Too High
This can strain the back, hips, knees and shoulders.
Choosing an Abrasive Surface That Is Too Coarse
Excessively rough material may shorten nails rapidly or damage nearby tissue.
Filing Without Checking
Frequent inspection is essential because enthusiastic dogs can remove nail surprisingly quickly.
Training Through Pain
Reluctance to use one foot may indicate discomfort rather than confusion.
Forcing the Stretch
The dog should move comfortably and voluntarily.
Expecting the Board to File Dewclaws
Most standard scratchboard movements do not contact them.
Allowing Paw Pads to Rub Repeatedly
The nails should make primary contact with the abrasive surface.
Making Sessions Too Long
Repetition can cause fatigue, soreness and over-filing.
Using the Nail Board as the Only Nail-Care Method
Every nail still requires regular inspection.
When to Use Another Nail-Care Method
A nail board may not be the best option if your dog:
-
Has significant orthopaedic disease
-
Cannot stand steadily
-
Has a painful paw
-
Needs urgent nail shortening
-
Has severely curved nails
-
Has overgrown dewclaws
-
Files the nails unevenly
-
Finds the platform frightening
-
Becomes frustrated by shaping exercises
Alternatives include:
-
Cooperative clipping
-
Nail grinding
-
Hand filing
-
Professional grooming
-
Veterinary nail care
-
Prescribed pre-visit medication
-
Sedation when medically appropriate
Using medication or professional assistance is not a training failure. Sometimes the kindest nail trim is the one completed safely with veterinary support.
Frequently Asked Questions
Can every dog learn hind-foot nail-board training?
Many can, but it may not be suitable for dogs with joint disease, neurological problems, weakness or poor balance.
What type of sandpaper should I use?
Use an abrasive surface appropriate for your dog’s nail hardness and begin conservatively. Medium-grit surfaces are commonly used, but the ideal choice varies. Check the nails and surrounding skin frequently.
How often should my dog use the board?
Frequency depends on nail growth, surface coarseness and how much nail each repetition removes. Begin with a few scratches and reassess before scheduling regular sessions.
Will it shorten the quick?
Frequent conservative nail maintenance may gradually allow the living tissue within some nails to recede, but results vary. Never deliberately file into sensitive tissue.
Can I hold my dog’s hind paw against the board?
No. The behaviour should be voluntary. Forced contact can cause injury and create fear.
Why does my dog avoid one leg?
The dog may have developed a side preference, but persistent avoidance can indicate pain or weakness. Arrange a veterinary examination.
Can the board replace clippers completely?
Sometimes it substantially reduces clipping, but it may not reach dewclaws or every nail evenly.
Is it safer than clipping?
It can reduce the need for paw restraint and allows gradual removal, but over-filing and physical strain are still possible. Proper setup and monitoring remain essential.
Final Thoughts from Dr Duncan Houston
Hind-foot nail-board training can turn nail maintenance into a voluntary, confidence-building activity.
Start by teaching front paws on a stable platform. Capture tiny rear-foot movements, reward controlled contact and build the scraping action gradually. Keep sessions short and inspect every nail frequently.
Most importantly, make sure the exercise is physically comfortable. A perfectly filed nail is not worth an irritated paw, sore back or offended Labrador glaring at the platform from across the room.
Need Help With Nail-Board Training? ASK A VET™
The safest setup depends on your dog’s size, nail condition, mobility, medical history and comfort with handling.
With ASK A VET™, you can:
-
Share photos of your nail-board setup
-
Ask whether the exercise is suitable for your dog
-
Get help choosing a platform and board angle
-
Share videos of hind-foot movement
-
Discuss uneven wear or possible discomfort
-
Find out when clipping, professional grooming or veterinary care is required
Visit AskAVet.com or download the ASK A VET™ app for professional support with nail care, cooperative handling and your dog’s health.

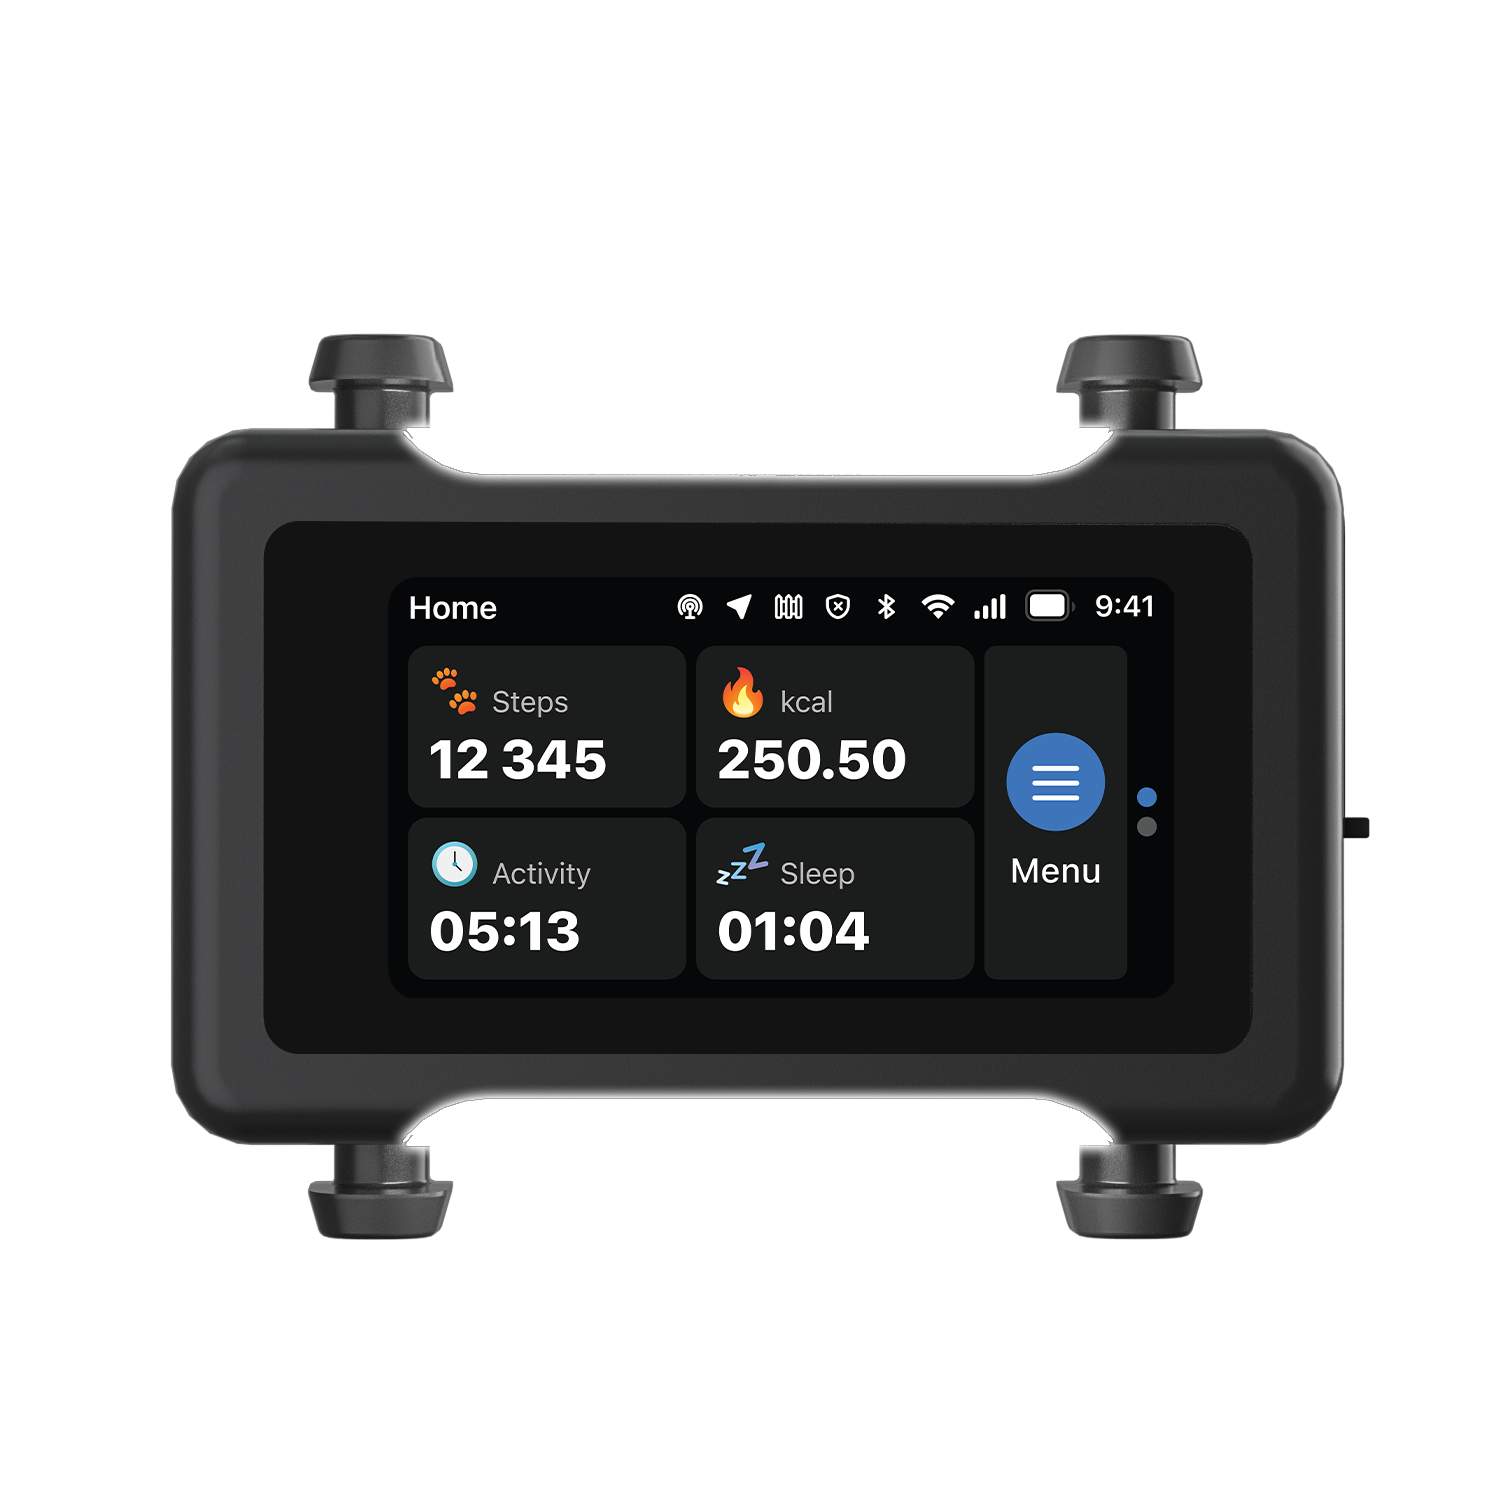
The ASK A VET™ Tracker logs live location and activity trends, so a change in routine never goes unnoticed.
Every ASK A VET article is written and reviewed by qualified veterinarians.