




Treatment Station Training for Dogs and Cats: A Cooperative Care Guide
By Dr Duncan Houston.
A treatment station is a mat, towel, platform or other clearly defined surface where your pet can participate in grooming, examinations and prescribed home care.
With gradual training, the station can help make handling more predictable and give your pet a practical way to communicate whether they are ready to continue.
The goal is not to make an animal remain perfectly still while something unpleasant happens. The goal is to build cooperation, trust and safer care.
Quick Answer
To teach your pet to use a treatment station:
-
Choose a stable, comfortable and non-slip surface.
-
Reward voluntary interest in the station.
-
Build confidence standing, sitting or lying on it.
-
Teach a clear release cue.
-
Introduce brief, gentle touch.
-
Condition each treatment tool separately.
-
Build an opt-in or start-button behaviour.
-
Pause whenever your pet disengages.
-
Progress to real care in tiny steps.
-
Seek veterinary help if treatment is urgent or your pet shows fear, pain or aggression.
Training should include plenty of positive-only sessions during which no treatment occurs.
What Is a Treatment Station?
A treatment station is a designated location where cooperative care occurs.
Suitable stations include:
-
A non-slip mat
-
A folded towel
-
A bathmat
-
A low platform
-
A pet bed
-
An open carrier
-
A stable grooming surface
-
A padded shelf or perch for a cat
The station provides context. When your pet steps onto it, they know what type of interaction may follow.
It may be used for:
-
Brushing
-
Nail care
-
Ear inspection
-
Eye inspection
-
Applying prescribed medication
-
Toothbrushing
-
Checking paws
-
Cleaning minor surface debris
-
Administering some oral medication
-
Routine veterinary examination practice
-
Weighing
-
Harness or muzzle fitting
Always follow your veterinarian’s instructions for medical treatment. Station training does not make an unprescribed or unsafe procedure appropriate.
How Cooperative Care Works
Cooperative care teaches an animal to participate voluntarily in handling and husbandry.
This may involve:
-
Approaching the station
-
Remaining in position
-
Offering a paw
-
Resting the chin
-
Presenting an ear
-
Standing for brushing
-
Entering a carrier
-
Moving away when they need a break
A 2022 pilot study of cooperative care training examined training and compliance during veterinary examinations in dogs. The research highlights both the potential value of cooperative care and the need for appropriate practice, generalisation and realistic expectations.
Cooperative care can improve communication, but it cannot eliminate every animal’s fear or remove the need for veterinary medication, sedation or physical safety measures in some situations.
Consent, Assent and Opting In
Legally, an animal cannot provide informed consent in the human medical sense. In practical cooperative care, however, pets can show assent by choosing to participate.
An opt-in behaviour might be:
-
Standing on the station
-
Resting the chin on your hand
-
Placing the nose into a muzzle
-
Offering a paw
-
Maintaining a nose target
-
Remaining in a particular body position
The procedure begins while the animal maintains that behaviour and pauses when they move away.
Fear Free describes the chin rest as a cooperative behaviour that can indicate the animal is ready to engage while allowing them to opt out of handling.
An opt-in signal is useful only when leaving is genuinely permitted during non-urgent practice.
Cooperative Care Does Not Replace Necessary Treatment
Some procedures cannot safely wait for weeks of training.
Contact your veterinarian if your pet urgently needs:
-
Eye medication
-
Insulin
-
Seizure medication
-
Wound care
-
Pain relief
-
Treatment for an infection
-
Postoperative care
-
Life-preserving medication
Your veterinarian may modify the treatment, demonstrate safer handling, change the formulation or prescribe medication to reduce fear and distress.
Do not repeatedly skip essential medication because your pet walks away from the station. Equally, do not turn every treatment into a wrestling match. Call the veterinary team and create a safer plan.
Step 1: Choose the Right Station
The surface should be:
-
Non-slip
-
Stable
-
Comfortable
-
Large enough for the required position
-
Easy to clean
-
Easy for the pet to approach
-
Low enough to prevent falls
-
Distinct from the surrounding floor
Dogs may prefer a bathmat, yoga mat or low platform.
Cats may prefer:
-
A familiar towel
-
A soft bed
-
An open carrier base
-
A stable elevated surface
-
A perch with non-slip covering
Never place a frightened pet on a narrow or unstable table. If your pet could fall, begin on the floor.
Step 2: Prepare the Environment
Begin in a calm, familiar room.
Reduce:
-
Loud conversation
-
Television noise
-
Visitors
-
Other animals
-
Slippery flooring
-
Sudden movement
-
Strong smells
-
Unnecessary restraint
Prepare everything before the session begins:
-
Small treats
-
A clicker or verbal marker
-
The station
-
One training tool
-
A secure rubbish container
-
Any prescribed medication
-
A written treatment plan
-
A towel for spills
Avoid repeatedly walking away to find equipment once your pet is settled.
Step 3: Find the Right Reward
A reward is something your pet genuinely values.
Options include:
-
Small soft treats
-
Lickable food
-
A food puzzle
-
Play
-
Gentle attention
-
Access to a favourite location
-
The opportunity to move away
Use tiny portions to avoid overfeeding. Consider your pet’s normal diet, allergies and medical conditions.
Food may support training, but eating does not automatically mean an animal is comfortable. Some pets continue licking while showing other signs of fear.
Always assess the whole body, not merely whether the tongue is still attached to a lick mat.
Step 4: Reward Interest in the Station
Place the station on the floor and allow your pet to investigate.
Mark and reward small steps such as:
-
Looking at it
-
Moving towards it
-
Sniffing it
-
Touching it with one paw
-
Placing multiple paws on it
-
Standing fully on it
-
Sitting or lying down
Place rewards on the station to strengthen the association.
Do not physically position your pet or repeatedly lure them back if they leave.
Keep the first session under a few minutes.
Step 5: Build a Reliable Station Behaviour
Once your pet confidently approaches:
-
Wait for them to move onto the station.
-
Mark the behaviour.
-
Deliver several small rewards.
-
Use a release cue such as “free” or “all done”.
-
Toss or place a reward away from the station.
-
Allow the pet to return voluntarily.
-
Repeat.
After the pattern becomes predictable, add a cue such as:
-
“Station”
-
“Mat”
-
“Ready”
-
“Treatment”
Say the cue immediately before the pet moves onto the station.
Do not repeat it continuously. If your pet does not approach, make the exercise easier.
Step 6: Build Duration
Increase duration gradually while nothing medical happens.
Reward after varying intervals:
-
One second
-
Three seconds
-
Two seconds
-
Five seconds
This prevents the pet from predicting exactly when the reward will arrive.
Aim for relaxed behaviour rather than rigid immobility.
Signs of relaxation may include:
-
Soft eyes
-
Normal breathing
-
Loose muscles
-
Resting the head
-
Shifting comfortably
-
Taking food gently
-
Choosing to return after release
Finish while your pet is still confident.
Step 7: Introduce Touch Without Tools
Begin with an area your pet already enjoys having touched.
A session might look like:
-
Pet steps onto the station.
-
Brief shoulder touch.
-
Mark and reward.
-
Pause.
-
Brief shoulder touch again.
-
Mark and reward.
-
Give the release cue.
Gradually progress towards more sensitive areas:
-
Legs
-
Paws
-
Ears
-
Lips
-
Tail
-
Abdomen
Break every action into small components.
For paw care, progress might be:
-
Touch the shoulder
-
Touch the upper leg
-
Touch the lower leg
-
Touch the paw
-
Hold the paw briefly
-
Touch one toe
-
Apply gentle pressure to one nail
Do not jump from “my dog likes shoulder rubs” directly to “time to excavate the dewclaw”.
Step 8: Teach an Opt-In Behaviour
Choose a simple behaviour your pet can start and stop.
Chin Rest
Your pet places their chin on:
-
Your hand
-
A rolled towel
-
A cushion
-
The edge of the station
Begin touch while the chin remains in position. Pause when the chin lifts.
Nose Target
Your pet touches their nose to a target and maintains contact.
Paw Offer
Your pet voluntarily places a paw in your hand or on a pad.
Standing Position
Your pet stands squarely on the station while you briefly examine their body.
The opt-in behaviour should be trained separately before it is combined with medical or grooming procedures.
Step 9: Introduce Equipment Separately
Tools that predict frightening experiences should be conditioned away from the treatment station first.
Examples include:
-
Nail clippers
-
Nail grinder
-
Toothbrush
-
Brush
-
Ear-cleaning bottle
-
Eye-drop bottle
-
Syringe
-
Thermometer
-
Muzzle
-
Hair clippers
-
Stethoscope
Break exposure into tiny steps:
-
Tool appears at a distance
-
Reward
-
Tool disappears
-
Tool moves slightly closer
-
Reward
-
Tool is held near the pet
-
Reward
-
Tool briefly touches a neutral area
-
Reward
Sound-producing tools require separate conditioning. For example, switch a grinder on in another room before gradually reducing the distance.
Never conceal equipment and surprise your pet after they enter the station. Predictability is central to cooperative care.
Step 10: Combine the Station, Touch and Tool
Once each component is comfortable individually:
-
Cue the station.
-
Ask for the opt-in behaviour.
-
Show the tool.
-
Perform one tiny action.
-
Mark and reward.
-
Pause.
-
Continue only if your pet opts in again.
-
Finish with the release cue.
The first combined session may involve only showing the tool while touching the shoulder.
Progress gradually towards the complete procedure.
Step 11: Begin Real Care in Tiny Pieces
Avoid trying to complete an entire procedure immediately.
Examples include:
Nail Care
-
Inspect one paw
-
Touch one nail
-
Clip the tip of one nail
-
Finish
Toothbrushing
-
Lift the lip briefly
-
Touch one tooth with gauze
-
Finish
Ear Care
-
Touch the ear
-
Lift the ear flap
-
Bring the bottle near
-
Finish
Brushing
-
One gentle brush stroke
-
Reward
-
Release
Completing one calm step is more valuable than finishing every nail while your pet panics.
Positive-Only Sessions Are Important
Do not make every trip to the station predict treatment.
Regularly practise:
-
Approaching
-
Resting
-
Receiving treats
-
Brief comfortable touch
-
Release without treatment
These positive-only sessions help maintain the value of the station.
Using the station solely for unpleasant procedures may eventually make your pet avoid it.
Should the Station Be Used for Tricks or General Training?
Keep the station’s purpose clear and predictable.
You may use it for:
-
Calm settling
-
Cooperative handling
-
Comfortable body positioning
-
Positive veterinary-care practice
Avoid turning it into a high-energy trick platform if that creates excitement or confusion.
The station does not need to be treated like sacred ground, but it should consistently predict calm, respectful interactions.
Treatment Station Training for Dogs
Dogs may work well on:
-
A bathmat
-
A low platform
-
A grooming mat
-
A folded towel
Useful complementary behaviours include:
-
Chin rest
-
Paw offer
-
Side-lying
-
Standing still
-
Nose target
-
Basket muzzle training
-
Entering a tub voluntarily
Keep the lead loose if one is used. A tight lead should not be required to hold the dog on the station.
Treatment Station Training for Cats
Cats often respond better when they have control over height, hiding and movement.
Consider:
-
A familiar towel
-
The base of an open carrier
-
A stable elevated perch
-
A non-slip mat on a familiar table
-
A quiet room away from other pets
Allow the cat to:
-
Approach independently
-
Investigate equipment
-
Remain in a comfortable posture
-
Leave when needed
-
Hide between sessions
Avoid dragging a cat from a hiding place and placing them on the station.
For some cats, carrier training and a familiar towel may be more useful than a formal platform behaviour.
Reading Your Pet’s Body Language
Continue while your pet remains comfortable.
Positive signs include:
-
Voluntary approach
-
Loose posture
-
Soft facial expression
-
Normal breathing
-
Gentle treat-taking
-
Remaining by choice
-
Re-engaging after a pause
-
Returning after release
Pause if you notice:
-
Head turning
-
Lip licking
-
Yawning
-
Paw lifting
-
Leaning away
-
Tail tucking
-
Tail lashing in cats
-
Ears held back
-
Skin twitching
-
Freezing
-
Refusing food
-
Attempting to leave
-
Growling, hissing or swatting
-
Snapping or biting
Responding to subtle signals can prevent escalation.
What if Your Pet Leaves?
If your pet leaves during practice:
-
Stop touching.
-
Put the tool down.
-
Give them space.
-
Consider what may have been too difficult.
-
Resume at an easier step later.
Do not immediately follow, corner or lure them back repeatedly.
Leaving is information. Your pet may be tired, worried, painful or simply finished for the day.
What if Your Pet Will Not Take Treats?
Refusing food may indicate:
-
Fear
-
Pain
-
Nausea
-
Excessive distraction
-
Low food motivation
-
A reward that is not valuable enough
-
A session that is too difficult
Increase distance from the tool, simplify the task or try another reward.
Do not assume a pet is comfortable merely because they accept food. Conversely, do not assume every pet must eat to participate successfully.
When to Stop Training and Call Your Veterinarian
Seek veterinary guidance if your pet:
-
Shows signs of pain
-
Suddenly resists familiar handling
-
Growls, hisses, scratches or bites
-
Cannot receive essential medication
-
Has a worsening wound
-
Develops eye pain or discharge
-
Has severe ear pain
-
Stops eating
-
Becomes lethargic
-
Has difficulty breathing
-
Requires urgent postoperative care
-
Becomes increasingly fearful despite gradual training
A medical problem must be addressed before behaviour training can succeed.
Medication and Sedation Are Not Failures
Some pets require prescribed medication to reduce fear, pain or distress.
Your veterinarian may recommend:
-
Pre-visit anxiety medication
-
Pain relief
-
A different medication formulation
-
Professional restraint
-
Sedation
-
Hospital treatment
-
Referral to a behaviour professional
Cooperative care does not mean every procedure must be completed without medication.
Humane sedation may be safer and kinder than repeatedly forcing a terrified animal through necessary care.
Common Treatment Station Mistakes
Moving Too Quickly
Progressing from standing on a mat to full nail trimming in one session is usually too much.
Hiding the Tools
Surprising the pet damages predictability and trust.
Luring the Pet Into Position and Trapping Them
A food lure should not become bait for unavoidable restraint.
Ignoring Subtle Stress Signals
Freezing is not the same as relaxation.
Using Food as the Only Measure of Comfort
Some frightened animals continue eating.
Performing Treatment Every Time
Include sessions where the pet visits the station and nothing happens.
Making the Station Slippery or Unstable
Poor footing increases fear and injury risk.
Training for Too Long
One to three minutes may be enough, particularly during early sessions.
Punishing Growling, Hissing or Leaving
These behaviours communicate discomfort. Punishment may suppress the warning while increasing fear.
Delaying Essential Medical Care
Training must not replace urgent veterinary treatment.
A Simple Seven-Day Starter Plan
Day 1
Reward looking at and approaching the station.
Day 2
Reward paws on the station and introduce a release cue.
Day 3
Build several seconds of relaxed duration.
Day 4
Introduce one brief touch to a comfortable body area.
Day 5
Practise an opt-in behaviour such as a chin rest.
Day 6
Show one treatment tool at a safe distance and reward calm behaviour.
Day 7
Combine the station, opt-in behaviour and one very easy handling step.
Repeat days as often as needed. There is no requirement to progress every day.
Frequently Asked Questions
How long does treatment station training take?
Some pets learn the foundation within several sessions. Animals with previous fear or pain may require weeks or months.
Can I use the pet’s normal bed?
You can, but a separate portable mat may create clearer context and can be taken to the veterinary clinic.
Should I use a clicker?
A clicker can provide precise information, but a calm word such as “yes” also works. Avoid a clicker if the sound startles your pet.
Can I use a lick mat during treatment?
Yes, if it is medically appropriate and your pet enjoys it. Continue monitoring body language because licking does not guarantee comfort.
Should I stop whenever my pet moves?
If movement is the agreed opt-out signal, pause. Determine whether the pet is repositioning comfortably or trying to escape the interaction.
Can I use the station at the veterinary clinic?
Yes. Practise in several safe locations first and ask the clinic whether you can bring the familiar mat or towel.
What if my pet already hates nail trims?
Condition the clippers, paw handling and station separately. Severe fear may require veterinary medication or professional behaviour support.
Does cooperative care mean restraint is never allowed?
No. Urgent and essential procedures sometimes require gentle restraint or sedation. The veterinary team must balance emotional welfare, physical safety and medical necessity.
Final Thoughts from Dr Duncan Houston
Treatment station training can turn unpredictable handling into a clear conversation between you and your pet.
Build the station before adding touch. Build touch before adding equipment. Introduce each real procedure in tiny pieces, and include plenty of sessions where nothing remotely medical happens.
Your pet may not develop a passionate love for ear drops. Frankly, that would be suspicious. The realistic goal is a pet who understands what is happening, feels safer and can participate without unnecessary fear.
Need a Personalised Cooperative Care Plan? ASK A VET™
Every pet has different medical needs, rewards, handling preferences and previous experiences. A generic training plan may not be enough when treatment is urgent or fear is already established.
With ASK A VET™, you can:
-
Discuss difficulty giving prescribed medication
-
Share videos of your pet’s body language
-
Build a personalised station-training plan
-
Learn how to introduce specific treatment tools
-
Identify signs of pain, fear or distress
-
Find out when in-person veterinary care, medication or sedation may be required
Visit AskAVet.com or download the ASK A VET™ app for professional help making home care safer and less stressful.

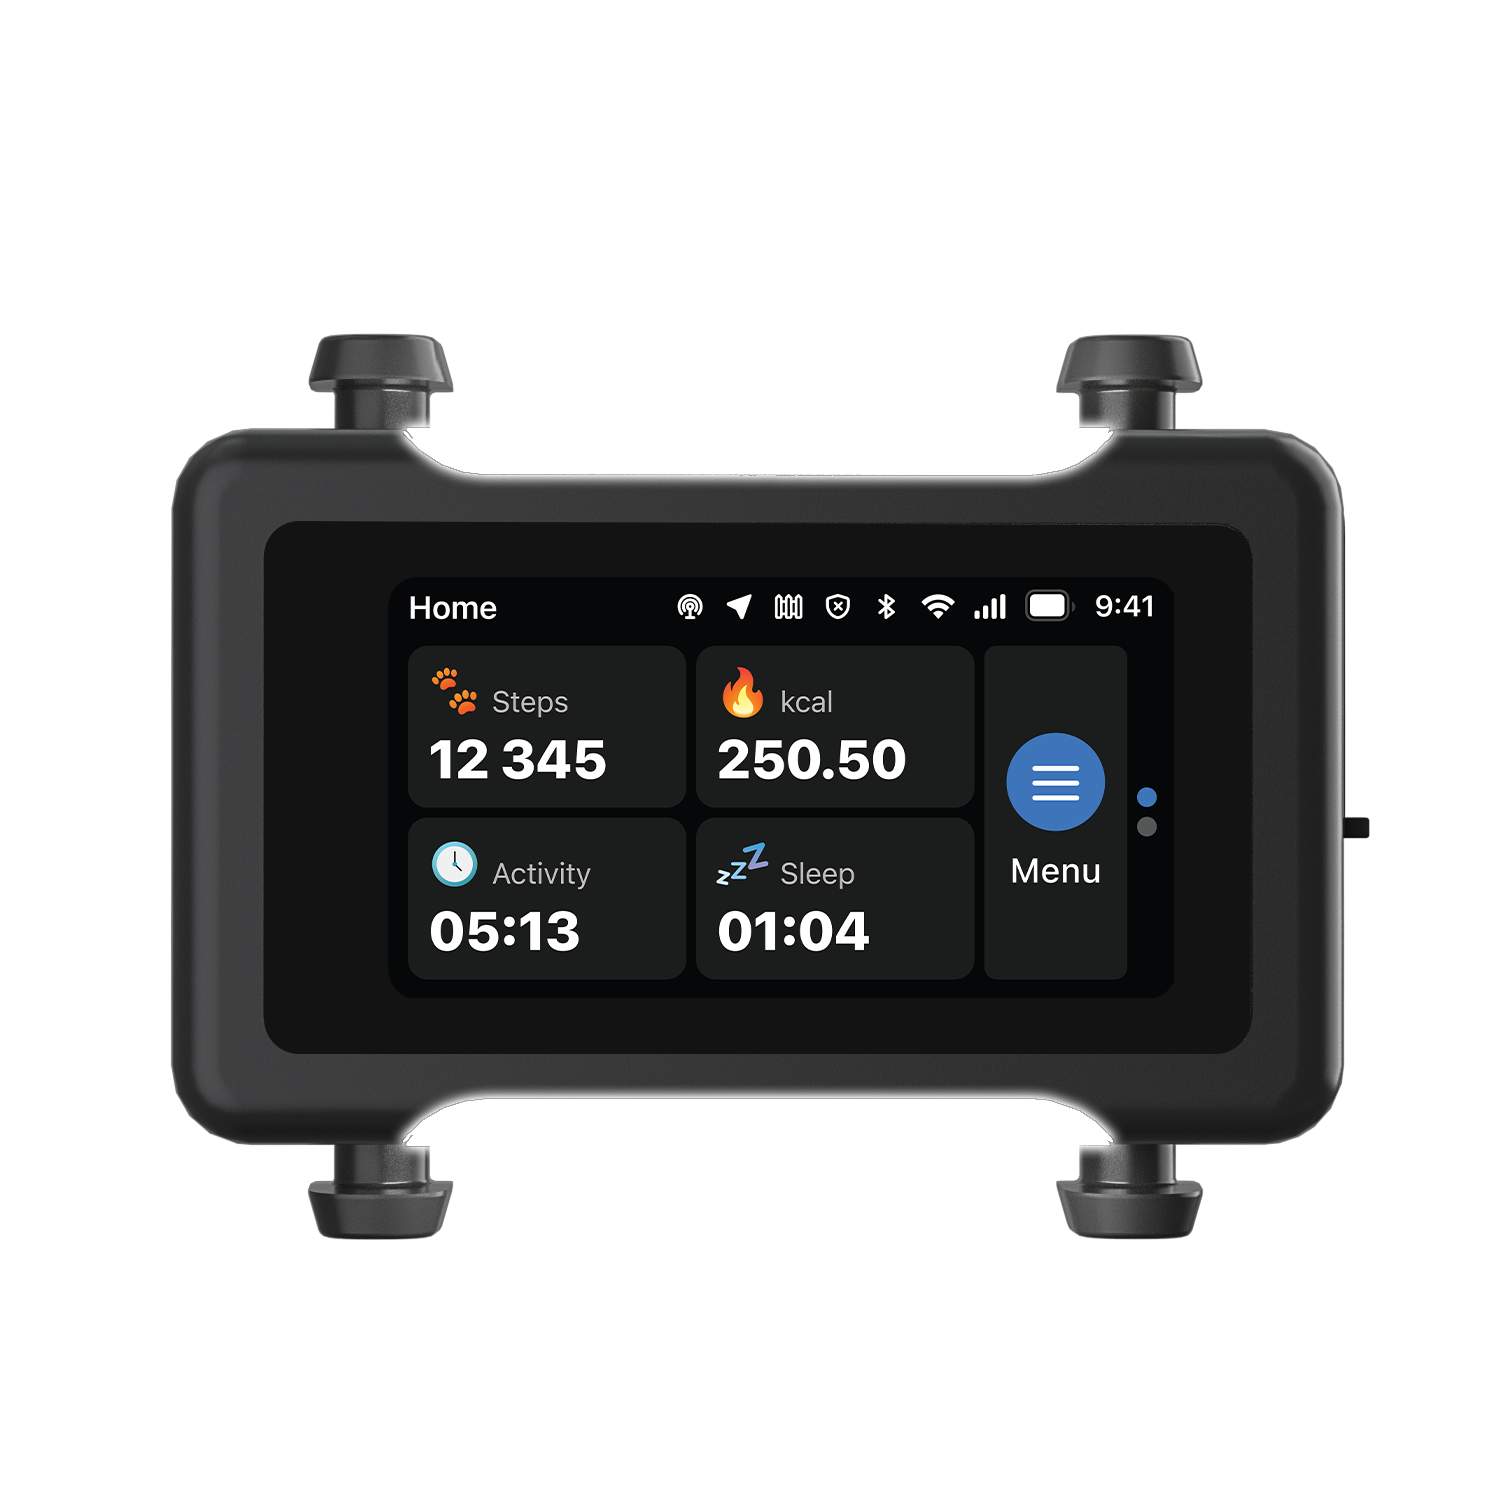
The ASK A VET™ Tracker logs live location and activity trends, so a change in routine never goes unnoticed.
Every ASK A VET article is written and reviewed by qualified veterinarians.